Specialized Kombucha Brewing Equipment
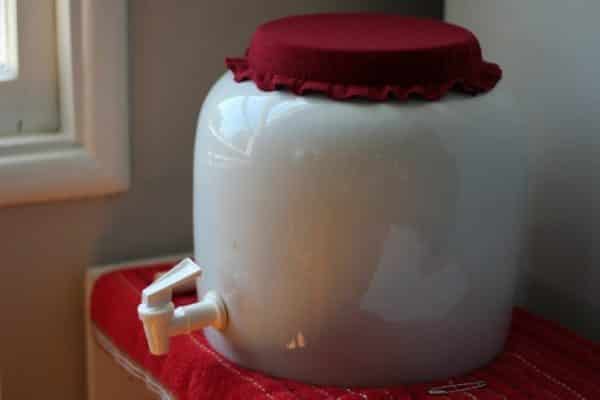
When you’re ready to take your brewing to the next level, you should think about investing in some of these pieces of specialized kombucha brewing equipment. You’ll get more precise results, and you’ll save time and energy in both brewing and bottling. You don’t need to be a professional to enjoy the benefits of professional-grade equipment, and some of it is surprisingly affordable.
Glass “Thief” Sampler
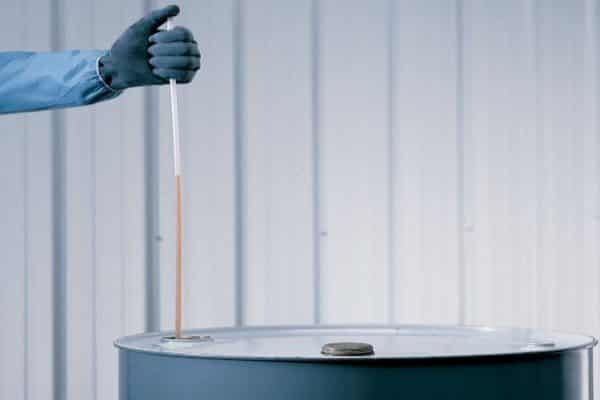
If you’re brewing kombucha on a budget, you’re probably using inexpensive plastic straws to sample your fermenting tea. But for the price of a few boxes of straws, you can get a glass sample taker called a “thief” in the brewing community, It’s easy to use, easy to keep clean, and helps you cut down on both your budget and your use of plastic (for those who are environmentally minded, this is a big deal). The smooth glass edges are safer to use around the SCOBY as well, and the end of the sampler slips easily underneath the edge of the SCOBY without nicking or tearing it.
Sugar Testing Kit/Hydrometer
The amount of sugar in your fermented tea will affect how much carbonation you get if you bottle the tea and do a second fermentation of your kombucha for added flavor and fizz. The more sugar (glucose and fructose) that is available to the yeasts and bacteria in the brew, the more carbon dioxide they’ll produce as they consume those sugars. On the other hand, you don’t want to end up with kombucha that’s sweeter than you like it. When you do a residual sugar test, you can make a note of exactly what the level is that gives you the best results for both carbonation and taste. All you need to do is use the sampler to get a bit of the brew, drop it on the test strip, wait two minutes, and compare the color results to the chart provided in the kit.
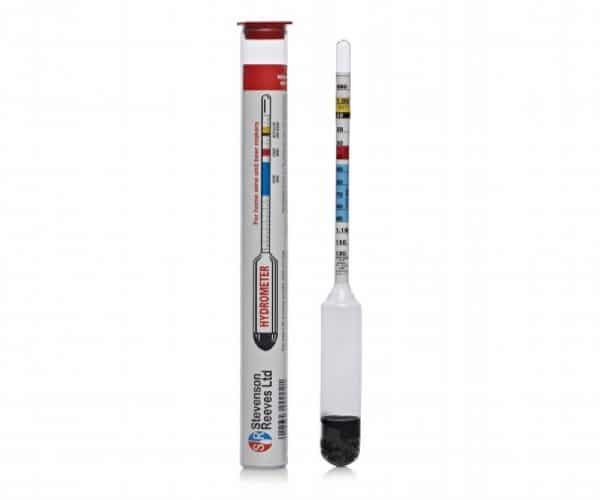
If you’re interested in increasing the alcohol in kombucha then you may want to buy a hydrometer instead of (or as well as) a residual sugar testing kit. Look for a hydrometer that allows you to test for sugars and alcohol potential at the same time. A hydrometer will give you the Brix scale measurement for the kombucha tea before you begin the second ferment process, or the percentage of dissolved sugars. A measurement of 1 degree Brix means that the liquid contains 1% sugar. If the hydrometer also has a gauge for measuring PA (potential alcohol) you can get an idea of how much alcohol content your finished kombucha will have.
Fermentation Heater
Kombucha likes temperatures between 65F and 85F, and when you can keep your fermenting brew (during the primary fermentation) at around 75F you’ll get the best results. Since this is warmer than most people keep their kitchens, it’s helpful to have a heating pad or something that you can use to keep your fermenting kombucha warm. Look for a flexible pad that you can wrap around the jar, rather than something that goes underneath the jar.
Ideally, you will be able to set up a system where the temperature remains constant. One problem with using most off-the-shelf heating pads is that they don’t have automatic sensors that switch the heat off if it gets too high. If you’re setting up an enclosed area and add a heating element, the inside temperature might get too high unless you’re constantly monitoring it. If you’re in a place where you find it very hard to regulate the temperature, it might be worth it to spend a little more for a system that includes a thermostat.
Airlock-Topped Bottles and Jars
Part of the fun of kombucha is the fizz, and many home brewers look for ways to add carbonation to kombucha that don’t also run the risk of leaks or explosions caused by too much CO2 buildup in the bottles. This can be a real problem if you want to brew larger batches of kombucha.
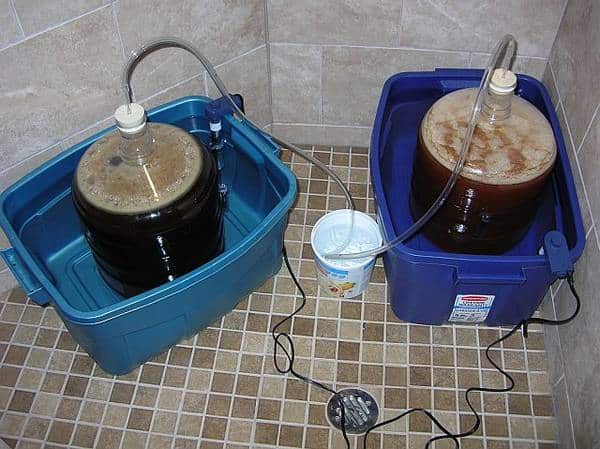
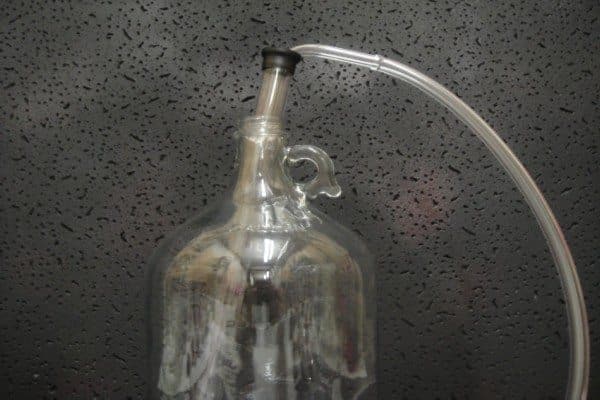
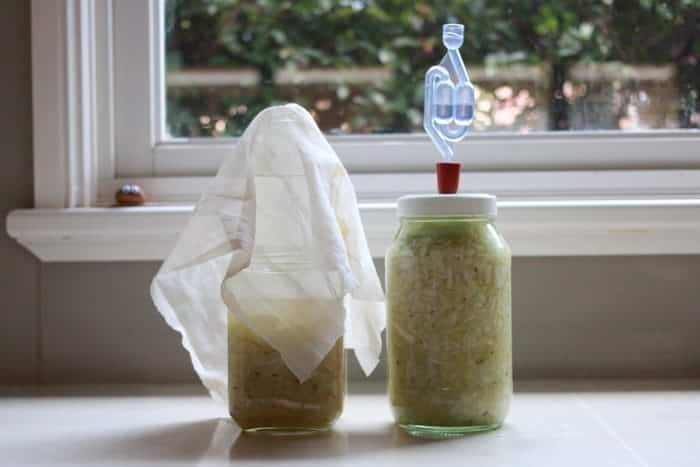
To solve this problem and still get the large-scale kombucha production you want, use glass carboys and fit them with airlock stoppers. Also called “fermentation locks,” these allow excess carbon dioxide to escape, without allowing oxygen into the container. Since secondary fermentation is an anaerobic (without oxygen) process, these airlock stoppers help you maintain the quality of your brew. This is especially important if you’re doing a longer second fermentation to develop a deeper flavor or a higher alcohol content.
A fermentation airlock is essentially a tube with a separate chamber. One end of the tube goes in through the silicone, rubber, or plastic stopper that closes off the end of the container. You’ll fill the chamber with water to form the barrier between the liquid inside the container and the outside environment. As the carbon dioxide builds up, it will bubble slowly through the water and escape through the other end of the tube. Enough of the carbonation remains in the liquid to give you a nice fizzy ferment.
If you’re doing your fermentation in wide-mouth jars, you’ll need to buy special lids that have the airlock built into them. Many people use these for making fermented vegetables, which is also an anaerobic process. You can usually buy the lids separately, allowing you to use the glass kombucha brewing jars you already have on hand. You can also buy sets of the jars and lids together.
Bottling Siphon
If you’ve been using a ladle and funnel to transfer your kombucha from brewing vessel to bottle, you’ve probably experienced your share of spills, drips, and sticky messes. When you use a bottling siphon, you’ll avoid all that trouble, and have fewer pieces of equipment to clean up afterwards. Simply insert the siphon into your brewing vessel, pump it to start the vacuum, and use the attached hose to fill your bottles. Easy to clean, easy to use, and something that even your kids can do!
Bottle Capper
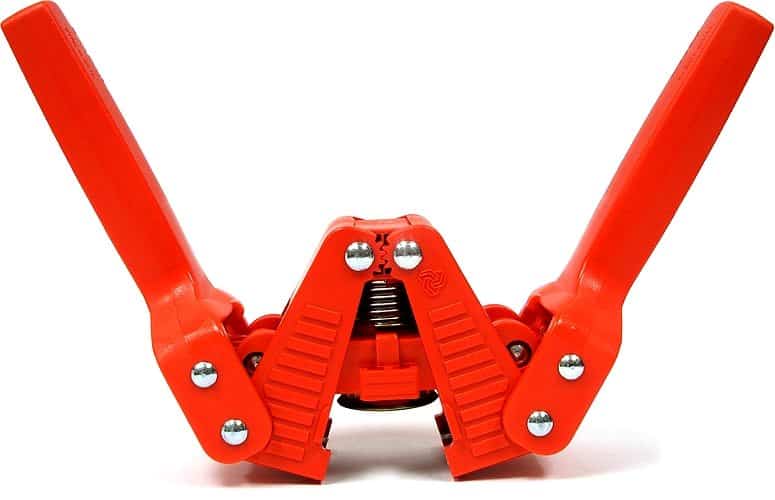
If you’re thinking of starting your own kombucha business, then you should look into getting a bottle capper so that you can seal your bottles to shipping and resale standards.

