How To Make Second Ferment Kombucha (And Why You Absolutely Should)
Before talking about how, let’s look at why you should make Second Ferment Kombucha.
More Nutrients
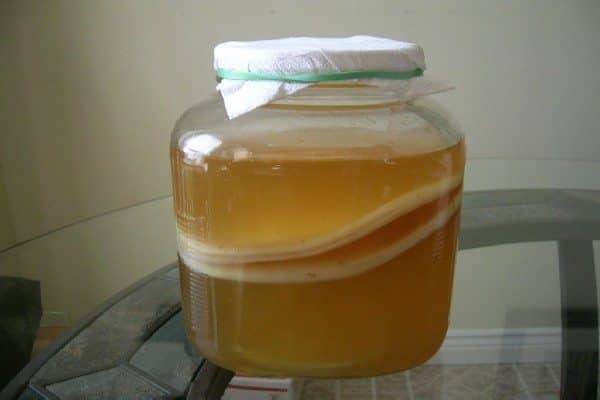
You already know about the many health benefits of drinking kombucha tea, but did you know that second ferment kombucha has even more healthy nutrients? That’s because the yeasts and the bacteria that make up the SCOBY (Symbiotic Colony Of Bacteria and Yeast) are still present in the kombucha tea, even after you have taken the SCOBY out when you’re done making a basic kombucha recipe. Most of the colony remains in the SCOBYs (the “mother” you used to start the batch of brew and the “baby” it produces) but there are millions of free-floating yeasts and bacteria in the liquid tea itself. That’s why you sometimes find a tiny baby SCOBY in a bottle of unpasteurized store-bought kombucha – the yeasts and bacteria in the bottle have gotten together in their own colony.
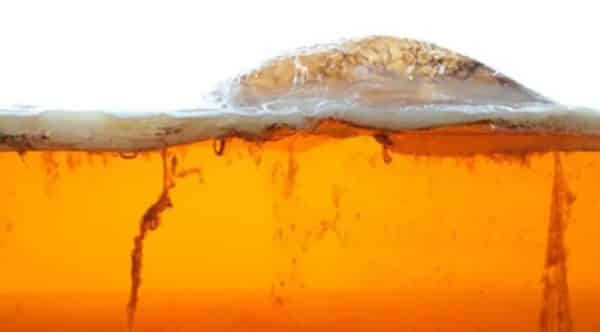
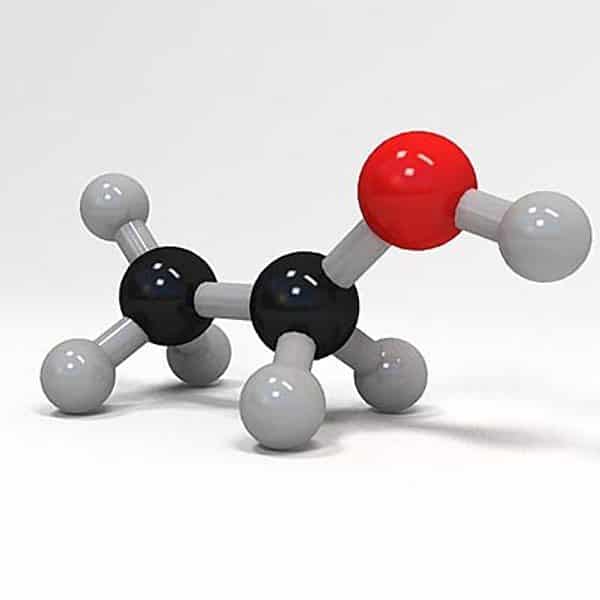
During the first (primary) fermentation, the yeasts in the SCOBY use the nutrients in the sweetened tea mixture to grow and multiply. During this process, they produce byproducts like ethanol. The bacteria take the ethanol and use it to nourish themselves, breaking it down into organic acids. The longer the bacteria have to work, the more of these organic acids they produce, changing the kombucha from sweet to sour. There are several important acids that have health benefits:
- Gluconic acid helps fight yeast infections like candidiasis.
- Lactic acid helps regulate digestion.
- Malic acid is a natural detoxifier.
However, the main acid produced is acetic acid, which is another name for vinegar. The longer the bacteria work, the more acidic and sour the kombucha tea becomes, especially during primary fermentation. One advantage of secondary fermentation is that it slows the production of acetic acid, which means that the nutrient value of the kombucha will continue to increase without getting sour too quickly.
With longer fermentation periods, the antimicrobial compounds also accumulate, making second ferment kombucha a more effective antioxidant. At the same time, the sugar decreases, making the kombucha a healthier drink, especially for people who are concerned about diabetes. This makes second ferment kombucha a good method for making sugar-free kombucha.
More Carbonation
The yeasts also produce carbon dioxide, giving fresh kombucha tea a slight bubbly or fizzy quality. But since this first brewing is done in an aerobic environment, much of the CO2 escapes. It’s important to cover the brewing jar with a piece of thin but finely-woven material in order to protect the SCOBY from airborne molds and contaminants while also letting in enough oxygen for the yeasts in the SCOBY to breathe as they “eat” the tea and reproduce. Of course, that same material allows the carbon dioxide produced by the yeast to escape at the same time.
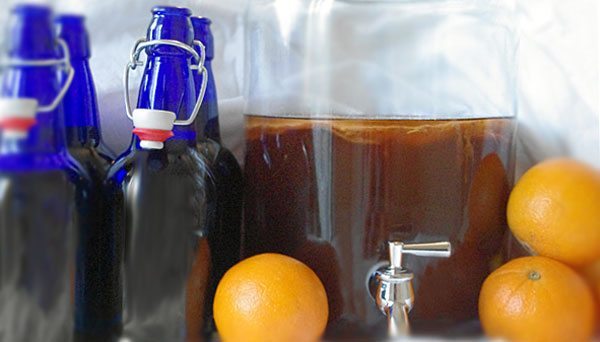
During second fermentation, the SCOBY is removed, and the fermentation container is tightly sealed. The yeasts and bacteria switch over to anaerobic reproduction, which does not require oxygen. All of the carbon dioxide now stays dissolved in the kombucha liquid – at least until the container is unsealed! That’s why you need to make sure you have the right bottles for kombucha when you’re doing second fermentation.
More Alcohol Potential
Freshly-brewed kombucha has very little alcohol. The bacteria convert most of the ethanol produced by the yeast into organic acids, so kombucha tea is generally safe for anyone to drink, even children. With only an average of 0.5%ABV (alcohol by volume) fresh kombucha tea is even less alcoholic than “lite” beer. However, because kombucha continues to ferment even after being bottled, the longer it’s in the bottle the more alcohol accumulates – though rarely above 2-3%ABV – and because of this, the Food and Drug Administration passed a law in 2010 regulating the sale and labeling of bottled kombucha. That’s why most bottled kombucha is pasteurized these days; pasteurization kills off the yeast and stops the transformation of sugars into ethanol. And that’s why if you want to grow a SCOBY using store-bought kombucha you need to look for unpasteurized, raw kombucha that has its full quota of live yeasts and bacteria.
When you do a second ferment kombucha by bottling your kombucha tea and storing it at room temperature for a few days, you’ll increase the alcohol content a little bit. However, if you add more food for the yeast to work on (extra sugar, fresh fruit, dried fruit, etc.) into those bottles, you’ll end up with kombucha tea that can reach 2-5%ABV, depending on how long you store it and what ingredients you’ve added.
NOTE: You can create kombucha alcohol by adding wine yeast or champagne yeast along with with the extra sugar and other ingredients, but in general this isn’t something that’s done directly in the bottles, and requires a few pieces of specialized equipment. Click here for complete instructions on making kombucha alcohol.
More Flavor Possibilities
Even if you’re not concerned with getting a buzz from your “booch,” you can use second fermentation to add flavor to your kombucha. This is the best way to add flavor to kombucha without putting your SCOBY at risk. Some ingredients, like raw honey, fresh fruit, and whole spices, have the potential for introducing mold or contamination that will harm the native yeasts and bacteria in the SCOBY during the first fermentation period. During second fermentation, the SCOBY is out of the way, and any possible contaminants on the added ingredients will find it hard to grow in the oxygen-free and high-acid environment of the bottled kombucha tea.
NOTE: There still is a risk of contamination when you’re doing second fermentation, so be sure you’re maintaining a clean environment so that your finished kombucha is safe to drink.
More Storage Options
Simply bottling the kombucha tea will make it last longer, especially if you put it in the refrigerator. Second fermented kombucha can be stored for several weeks, and when you’re making kombucha alcohol, the finished product can be stored and aged for several months. However, you need to use the right types of containers, both for doing the second fermentation and bottling the kombucha (though you can often also do the second fermentation in the bottle).
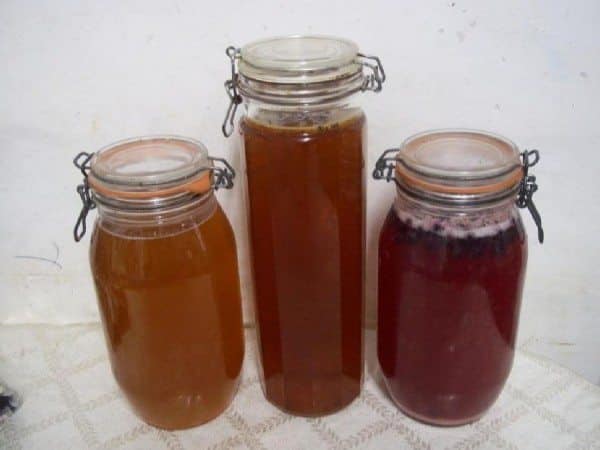
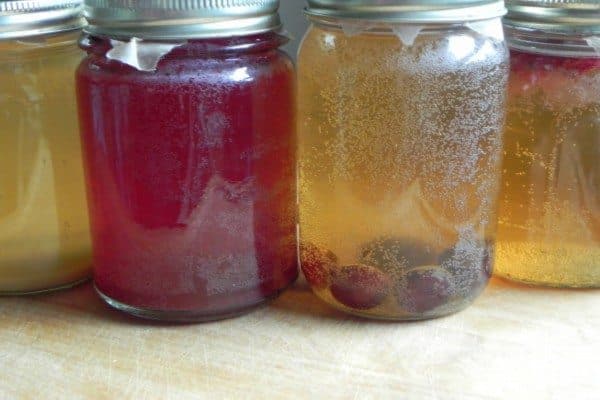
- Glass jars are popular choices with home brewers, especially if they also like to make their own homemade jams and jellies, or make fermented vegetables at home. Canning jars have lids that seal fairly tightly, though some CO2 will escape through the sides of the screw-top lid. You’ll need to buy plastic lids rather than the standard metal canning lids, because of the acidity of the kombucha tea.
- Clean plastic bottles from soda or bottled water will work for second fermentation, and some people prefer them because it’s easy to see how much pressure has built up just by squeezing the sides of the bottles. Make sure they’re completely clean before using them, and discard after a few batches; the acid will start to degrade the plastic. These are best for short-term second fermentation and should not be used to make kombucha alcohol.
- Recycled store-bought kombucha bottles are ideal for second fermentation, since that’s exactly what they were designed for! Again, make sure they’re perfectly clean and dry before you use them.
- Containers with airlocks allow the excess carbon dioxide to escape without releasing too much of the carbonation in the liquid. You can get glass or food-safe plastic fermentation containers (also called “carboys”) at any brewing supply store, and you’ll be able to buy the airlock lids there as well. These are the best choice for long-term fermentation that kombucha alcohol requires.
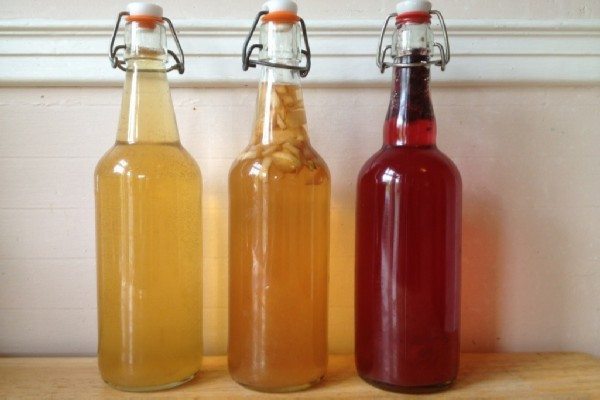
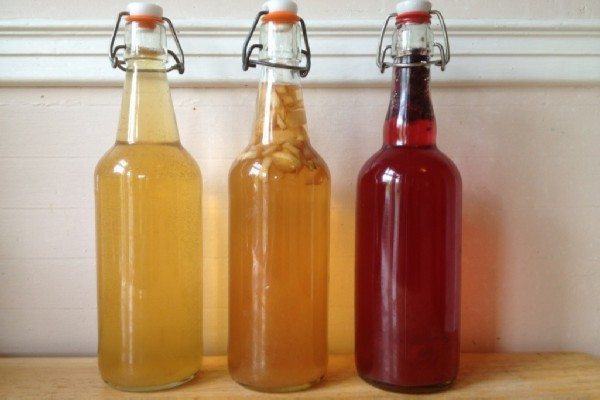
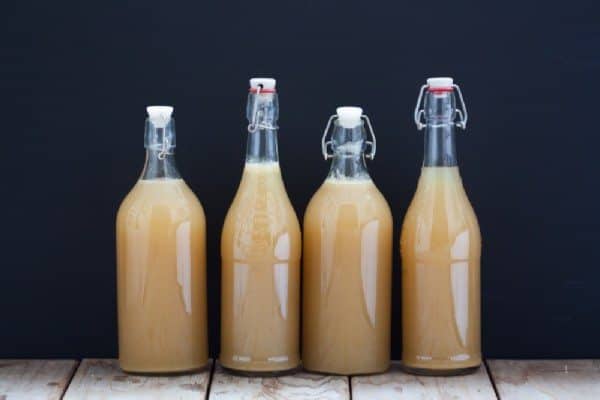
- Flip-top bottles that have a ceramic or plastic stopped held down by a metal lock are also a good choice for second ferment kombucha. These “Grolsch-style” bottles require a small investment (they’re definitely not as cheap as recycled plastic water bottles) but if you take good care of them you will be able to use them for years – and they’ll definitely make you look like a pro when you serve kombucha to your friends.
Before you use any bottle, jar, or other container, make sure that it has no cracks or chips, and that the stopper or lid fits tightly.
How to Make Second Ferment Kombucha
When you’re planning on doing second ferment kombucha, you need to keep in mind that the process actually begins at least a week earlier, when you’re brewing up your batch of plain kombucha tea.
When you’re planning on doing second ferment kombucha, you need to keep in mind that the process actually begins at least a week earlier, when you’re brewing up your batch of plain kombucha tea.
Preparing Your Kombucha Tea
The reason that you need to think about second fermentation even during the primary fermentation process is that you have to control the pH and acidity of the kombucha tea so that it will give you the best results when you use that tea during second fermentation. Here’s why:
- The flavors that develop during the brewing of the tea will carry over into the final product. If you’ve been experimenting with using herbal teas in your kombucha, or adjusting the amount of sugar or the type of sugar in the kombucha just keep in mind that you’ll be getting those flavors in all of the bottles of the second fermented kombucha as well.
- The sugar/acid balance needs to be weighted towards “sweet” instead of “sour.” There are two reasons for this. First, if you have a very sour kombucha tea, it’s going to be hard to adjust the flavor during second fermentation, even if you add more sugar. Second, those sugars are required if you want the extra carbonation produced by the action of the yeasts. If there’s no sugar to work with, the yeasts will go dormant or die off, and you won’t get an increase in CO2. Even if you like to drink kombucha tea that’s slightly sour, you need to stop the primary fermentation while the brew is still sweet. Check to see that the pH is around 2.9-3.1. When you practice brewing by tasting your kombucha every day as it ferments, you’ll learn when to stop the fermentation by removing the SCOBY in order to get the best results during second fermentation.
- The SCOBY needs the right blend of nutrients. Sugar also plays a part in primary fermentation because it’s what the SCOBY is processing as food. To work most efficiently, the yeasts in the SCOBY need sucrose and glucose (sucrose is a blend of glucose and fructose). If you’re trying to come up with a way to use other types of sweetener, the primary fermentation may take longer, which will change the balance of the yeasts, bacteria, and nutrients in the tea before you even start the secondary fermentation. The SCOBY also uses the caffeine and polyphenols and other nutrients from the tea leaves. In fact, without these nutrients, the SCOBY will eventually die. If you’re testing different types of herbal tea, be sure you keep a supply of backup SCOBYs in your SCOBY hotel.
Once you have your finished, slightly sweet kombucha tea, remove the baby SCOBY from the mother and use one or both to start your next batch of kombucha tea, or store in your SCOBY hotel. Set aside some of the kombucha tea to refresh the liquid in your SCOBY hotel, or to use as the starter culture for your next batch. Now, decide how much of the kombucha tea you want to leave plain, and how much you want to enhance with a second fermentation.
Bottling Your Plain Kombucha
If you don’t add any other ingredients, and you bottle your kombucha and put it in the refrigerator right away, the flavor will stay essentially the same. When you fill a bottle with kombucha without leaving any room for oxygen (or at least only leaving a small space at the top of the bottle) the bacteria will stop working as soon as there is no oxygen left in the liquid. The yeast is able to continue working in this anaerobic environment, but it too will stop working as soon as there is no sugar left to eat.
Because it’s the bacteria that create the acids, your kombucha won’t get much more sour without that extra oxygen. Since you’ve stopped the primary fermentation at the “still sweet” phase, this plain kombucha might be too sweet for you right now. All you need to do is not fill the bottle full! In other words, leave a few inches of space between the liquid and the cap in the bottle, and the bacteria will use that to continue creating its organic acids. After a few days, you’ll have the tart flavor that you prefer.
Another way that you can have a supply of ready-to-drink tart kombucha as well as slightly-sweet tea for further fermentation is to set up a continuous brewing system for kombucha. You can use the continuous brew container to hold your on-demand plain kombucha, and use your standard kombucha brewing equipment to brew up a single batch of kombucha tea any time you want to make a batch of fizzy, flavorful, second-fermented kombucha.
Recommended Bottles to Use for Kombucha?
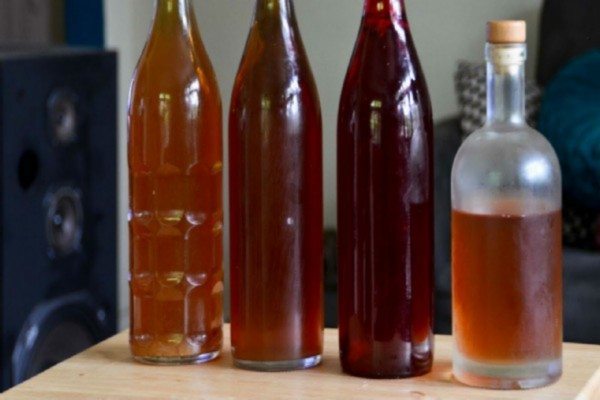
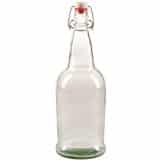
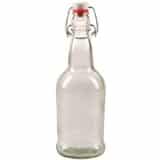
I highly recommend you go with the EZ Cap latch bottles for your secondary ferment. The reason is that a) you get a deeper ferment with more fizz because caps completely seal the bottle b) the space between the top of the Kombucha and the top part is very small which allows more fizz to build up (far more than if you use a big jar), c) these are hand-held in size, which means you get the joy of drinking your Kombucha like a soda pop!
CASE OF 12 – 32 oz. EZ Cap Beer Bottles – CLEAR
This is a bigger set of 32 oz which is quite a bit of Kombucha. I use this size to share Kombucha with two people, but you can simply use it to drink yourself. It’s a bit on the heavy side for hand holding though, being about the size of a wine bottle.
CASE OF 12 – 16 oz. EZ Cap Beer Bottles – CLEAR
This is my favorite for hand holding a bottle. It’s the same size as a large pop bottle. I recommend you buy one case of 32 oz and one case of 16 oz — you’ll have 24 bottles then and enough to handle a huge batch of brew.
If you want more jar recommendations, look at our best containers for Kombucha.
Adding Flavoring For Second Fermentation
Now that the SCOBY is out of the way, you can get creative! If you’re not sure where to start, think of the bottled kombucha you’ve enjoyed, and try to duplicate those flavors. Your favorite ice cream, your favorite Italian soda, your favorite cookie, even your mother’s old cookbooks are all sources of inspiration when it comes to developing delicious flavor recipes for kombucha.
Here are some ideas you can try out:
- fresh grated ginger, cranberry juice, fresh mint leaves
- sliced banana, sweetened unsulfured coconut, rum extract
- frozen strawberries, canned pineapple in syrup, fresh basil leaves
- dark chocolate, frozen cherries, vanilla extract, honey
- tangerine juice, canned peaches in syrup, lemon zest, maple syrup
- whole cinnamon stick, whole cloves, apple juice, vanilla extract, brown sugar
When it comes to adding extra ingredients for flavoring, you need to keep a few things in mind.
Is there enough sugar? The yeast needs sugar to continue working, so you’ll want to add something like fruit juice or extra sweetener to give it the nutrients it needs. Some juices have added sugar in them already, like cranberry juice. Other juices, like apple and grape, are usually sweet enough to use alone.
How much should I use? The amount of extra flavoring depends on what you’re using for the flavoring. This will be different depending on whether you’re using fresh fruit or dried fruit, whole spices or ground spices, sweetened syrup or unsweetened fruit juice. Here are a few guidelines:
For every gallon of kombucha tea, use at least one of the following:
- 1 – 2 cups of fresh or frozen fruit
- 1/2 – 1 cup of fruit puree
- 1/2 – 1 cup of dried fruit
- 1 – 2 cups of fruit juice
- 1/2 – 1 cup of additional sweetener
- 1/2 – 1 cup fresh herbs or spices
- 2 – 3 bags of herbal tea
- 2 – 3 teaspoons ground dried spices
- 1 – 3 tablespoons whole dried spices
A good way to start is by using the smaller amounts, and checking to see if you like the flavor. Some flavors will come through very strongly, like peppermint and ginger, while other ingredients (like maple syrup) will give you a more subtle flavor.
NOTE: If you’re using ground spices, make a small muslin bag to hold them so that they don’t cloud the liquid, and are easily removed before the flavor gets too strong.
How long should I keep the extra ingredients in the container? Again, you’ll need to check to see how the flavor is developing. If you’re using fresh fruits or vegetables (yes, you can make veggie kombucha!) they may start to get mushy after a few days, which will tend to make your kombucha cloudy. You’ll need to be careful that no mold develops, as well.
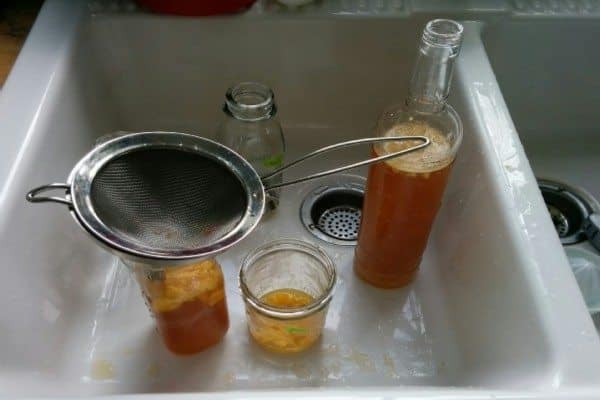
Do I need to remove the ingredients? That’s up to you. If you’re planning on storing your kombucha for more than a week, it might be better to strain out all of the solids before filling your storage containers or bottles with the kombucha. Anything like whole spices and dried fruit that might cause a choking hazard should be strained out either when you bottle the kombucha or right before you drink it. If you’ve made a batch of strawberry-kiwi kombucha that you’re planning on blending into your morning smoothie every day for the next week, you can leave the fruit in the bottles and just dump everything into the blender.
Planning Your Time
A rule of thumb with second fermentation is “one day on the counter, one week in the refrigerator.” That’s generally the minimum amount of time you’ll be spending doing the secondary fermentation, which starts at room temperature and continues in a cooler environment. After the room temperature fermentation, you’ll remove the added ingredients (or not) and transfer the kombucha to the bottles for storage (unless they’re already in bottles). Second ferment kombucha lasts a few days and up to a few weeks in the refrigerator, though sometimes you can leave them at cool room temperature. Some people like to age their kombucha in the refrigerator for a month or more.
If these instructions seem somewhat vague, it’s because there are many variables in kombucha brewing. The temperature of your kitchen, the time of year, the size of the container you’re using, the strength of the brewed tea and the type of tea you used, the added ingredients you’ve chosen, and the health of the SCOBY you used to brew the tea will all affect how the second fermentation evolves. It’s a good idea to keep a notebook handy to write down exactly what you do, what you add (and how much), what the temperature is, how long you let the kombucha ferment, and what the results are. Once you’ve done a few batches, you’ll have a better idea of what you can expect from your SCOBY, your kombucha tea, and your setup.
Batch Brewing vs. Bottled Fermentation
You can do your second fermentation in a large container, or directly in the individual bottles. Which method you choose will depend on how you want to flavor your kombucha, and how much space you have for storage and refrigeration. No matter which size of container you choose, it needs to have a top or cap that closes tightly, but is easy to open when you’re releasing the excess carbonation. If you’re using a larger container, it’s often more convenient to use a container with an airlock.
The advantage of using one large container for second fermentation is that you don’t have to worry about tending to multiple bottles during the fermentation period. If you’re using an airlock, you don’t have to adjust the pressure at all, in fact. Since the first part of the fermentation is at room temperature, you could even leave the container without supervision while you go away for the weekend, and not have to worry about coming home to a half a dozen exploded glass bottles on your countertop.
Another advantage of one container is that it’s easier to add ingredients. Instead of trying to divide a pint of blueberries between several bottles, you can just rinse the berries and toss them into the container. It’s also easier to strain the ingredients out of one container instead of several, if you decide to do that.
If you like the convenience of larger batches, but want some more flexibility in flavor, try using half-gallon or quart-sized jars that have airlock lids (home canning supply stores will have these). Quart jars also store easily in the refrigerator, so you might not even have to transfer the kombucha to other bottles.
When you do the second fermentation directly in the bottles, you eliminate the need for re-bottling, which can make your life easier by saving time and cleaning. However, you’ll want to be careful about which flavoring ingredients you use, and only choose ones that will not cause a problem by remaining in the bottle, whether that’s because they have the possibility of molding, or because they will be a potential choking hazard when you drink the kombucha tea.
Personally, I prefer using the bottles over jars for secondary ferment — you get a richer secondary ferment with MORE fizz than if you use glass jars. I recommend the CASE OF 12 – 32 oz. EZ Cap Beer Bottles or the CASE OF 12 – 16 oz. EZ Cap Beer Bottles on Amazon.
Second Ferment Stage #1: Room Temperature
Prepare your ingredients:
- Slice or dice larger fresh fruits like bananas, apples, peaches, and watermelon.
- Crush fresh berries to release the most flavor.
- Do not drain frozen berries; add them with any liquid.
- Wrap whole spices, fresh herbs, and ground dried spices in a muslin bag to make them easier to remove. You can also use a tea ball for ground or small whole spices.
- If using a hard natural sugar like jaggery or piloncillo, crush it to a powder so that it will dissolve easily in the kombucha tea.
Add all of your ingredients to the fermentation container(s) and then pour the kombucha tea over the ingredients. Stir well to dissolve any extra sugar you’ve added and to get the flavors moving. Close the container(s) tightly with their lids.
Put the container(s) in a dark place at room temperature of 70F if possible. Cooler temperatures will make this step go more slowly, and temperatures of 80F or over will make carbonation build up very quickly.
Let the brew ferment for 1 to 3 days, watching for excess carbonation.
Second Ferment Stage #2: Cool or Cold Temperature Storage
During this stage, the flavors in the kombucha have a chance to mix and mellow out. A small amount of carbonation continues as long as there are sugars for the yeasts to process, and as long as the temperature is not too low for the yeasts to be active. If you put your kombucha in the refrigerator, the action of the yeast will usually almost stop entirely, so once you’ve got good carbonation in your container(s) put them in the refrigerator overnight, and they’ll be easier to handle when you transfer them to the bottles (if you’re re-bottling).
If you plan on storing your kombucha in the refrigerator, the temperature will be low enough to stop the action of the yeast and so you can use flip-top bottles, canning jars, recycled soda bottles, or any other container with a tight seal without worrying too much about excess carbonation. However, if you are going to store your kombucha above 40F, you should think about using airlock lids, or doing regular checks for a buildup of CO2.
Filtered second-ferment kombucha can last at least 3 months in the refrigerator, as long as the seal on the bottle is tight. If you’re thinking of starting a small-scale kombucha operation, you might look into getting a bottle capper. This creates a very tight seal, and you should be able to store your kombucha even longer, if you have a place that is fairly cool and out of the light.
Opening Bottles of Second-Ferment Kombucha
Even if you’ve been storing your bottles of kombucha in the refrigerator, there will be carbonation – and sometimes lots of it. This is especially true if you’ve left some or all of the flavoring ingredients in the bottle; ginger in particular will continue to add to the carbonation. When you’re getting ready to open a bottle of kombucha, it’s a good idea to do it over the sink. Keep the bottle facing away from you. You might even want to wrap a kitchen towel around the top of the bottle, just in case it starts spraying. Open the seal slowly to give the stored CO2 a chance to leak out, instead of coming out in one big rush that brings much of the liquid tea with it.

