How to Make Kombucha Ale
Did you know that kombucha can be brewed into a variety of alcoholic beverage ‘look alikes’ such as kombucha wine, beer, champagne, mead and cider? In this post we are going to be outlining for you how to go about making kombucha ale!
Because all of the kombucha ‘hard drink’ variations cannot be brewed via their authentic means – due to the bacterial component of the SCOBY – the basic processes for all of them are similar. To get kombucha to make alcohol, one needs to follow a sort of set process. However by adding additional ingredients you can achieve flavor profiles to match the beverage which you are aiming to mimic.
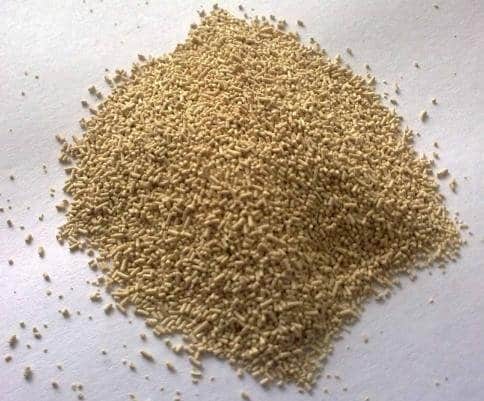
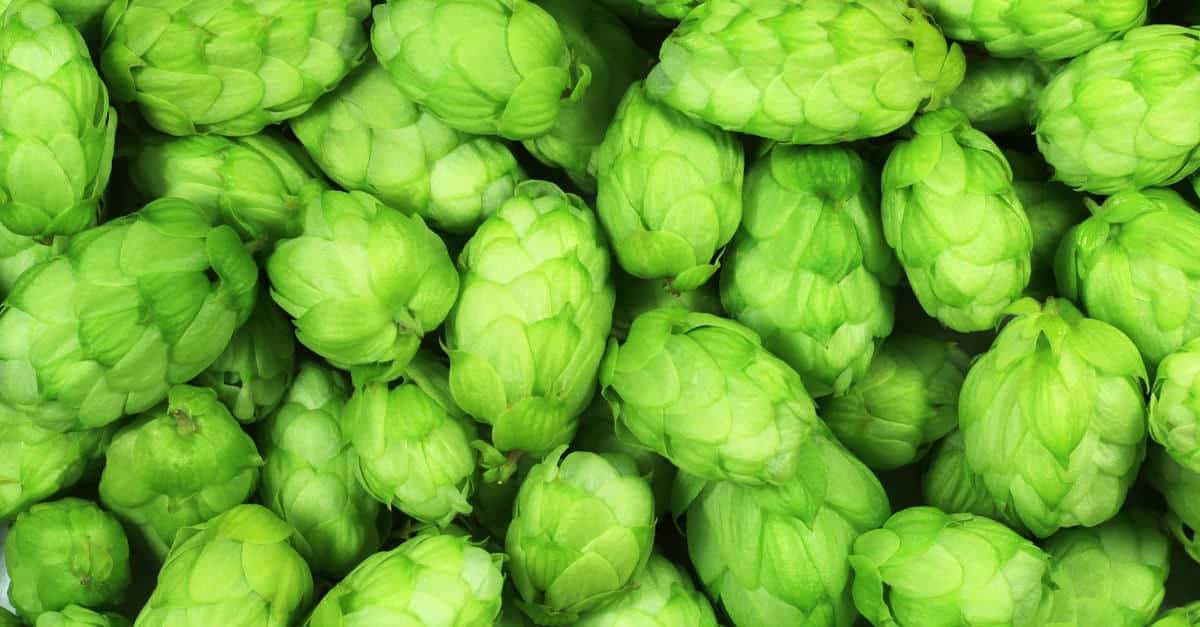
To get to that bitter, thick flavor of ale – we are going to be adding in hops, some malts, roasted barley – and very importantly, some home brewing ale yeast. I am going to quickly explain why you need to add ale yeast, so that you can see what is going on on a microbial level when you try to make kombucha produce alcohol.
What You Will Need In Order to Make Alcoholic Kombucha
As I am sure you are already aware, kombucha usually contains an extremely low level of alcohol – less than 1% to be exact. This is usually made known in kombucha brewing guidelines, as it is important info for pregnant or breastfeeding mothers. However it is unlikely under usual circumstances for kombucha alcohol levels to get any higher than this, and the trace amounts which are usually present are metabolised without one feeling any effect.
You Need Home Brewing Yeast
The reason why kombucha has a little bit of alcohol present in it when it is finished is thanks to the yeasts. They feed on the sugar which is present in the sweet tea used for making kombucha. The waste product from that is alcohol! However, not much of this stays behind, as the bacteria in turn then gobbles it up, and produces natural acids as their waste product. These natural acids are good, in fact they provide some awesome health benefits. However, this does mean that if you are interested in making alcoholic kombucha, you are not going to get very far with this strong partnership between the kombucha yeasts and bacteria going on!
This is why, if you are going to be making a proper type of kombucha alcohol, you will need to use some purchased home brewing yeast for the alcohol levels to rise to that of a beer or light wine. That said, it is possible to increase alcohol levels slightly without this. When making kombucha beverages which are alcoholic, one usually implements these tweaks as well in order to maximise your efforts. We will get into them in the next section. But before we do that, there is another element which is essential to the making of kombucha alcohol.
You Need a Carboy and Airlock
Ok don’t freak out! If you are totally unfamiliar with home brewing them the word carboy might sound alarmingly complicated. If you are new to home fermentation in general such as cultured vegetables etc, then the word airlock might inspire similar feelings. But do not worry, it is all soothing simple actually. : )
What a Carboy Does and What You Can Use as One
Carboys are large containers which can seal at the top which are used in the brewing of beer and other alcoholic beverages. They are usually made out of glass or plastic. Often, plastic blue ones can be seen fitted into the top of drinking fountains. However you do not have to use actual carboys for your home brewing. You can also use some nice big glass bottles or jars. Some people even use plastic buckets with lids! There are two considerations when selecting a container to act as a carboy.
DO NOT USE PLASTIC: The natural acids which the bacteria produce when they consume the alcohol from the yeasts (damn the little buggers) can eat into plastic on a microscopic level and cause BPAs and other yuckies to leach into your classy home brew. Stick to glass as it is non reactive and 100% safe in this regard.
IT MUST SEAL: Which ever container you choose to use as your carboy, it must seal. You must also be able to mount an airlock onto it.
What an Airlock is and Why You Need One
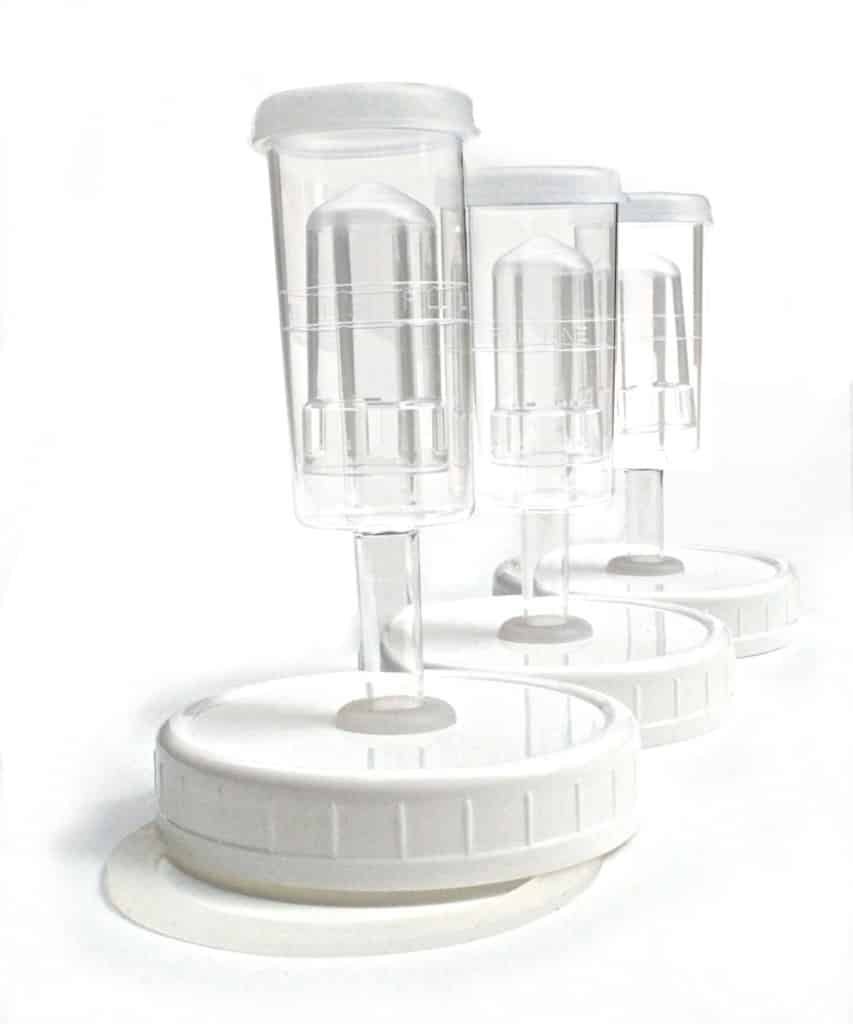
Airlocks are simple one way valves designed for fermentation. You usually fill them with a small amount of water. This stops air from travelling into your ferment, ensuring that it stays anaerobic. However, when pressure builds up during fermentation, it can escape as bubbles through the water in the airlock.
You can buy basic airlocks at any home brewing store or online. If you are in the mood for some DIYing and have a length of hose, and an extra bucket and some silicone, you can also make your own version. Simply drill a hole into the lid of your carboy (something you will have to do anyway if installing a purchased airlock). Insert the one end of the hose into this and seal it around with silicone. When setting up the ferment all you need to do is lead this hose into a bucket of water and it will act as a DIY airlock system.
However if you are not so keen to pull out the silicone gun, and need encouragement to splurge, these kinds of setups are not as reliable as regular manufactured airlocks and they can take up more space. In addition airlocks are cheap, and pretty useful if you are making other ferments such as cultured veggies.
Basic Process Behind Making Kombucha Ale (and other kombucha alcohols)
So now that you know what you need, let’s go over what the basic process of making kombucha ale is. This process can roughly be applied to other kombucha alcohols as well. It consists of the primary ferment, which stays basically the same, and then the secondary ferment. This is where the more serious brewing comes in and where you are going to be whipping out your carboy & airlock duo.
Make Kombucha
Firstly you need to make a batch of kombucha. This is done in the regular way, except for two additions.
Incorporate More Yeast in the Starter Liquid
As mentioned above, there are some things one can do to encourage and support the kombucha yeasts so that they can produce more alcohol. If you are going to be making kombucha ale, you might as well implement these steps, as even though you will be adding proper brewing yeast to the second ferment, upping the alcohol levels from the beginning will just serve to maximise your efforts.
By incorporating more yeast into the starter liquid and so into your fermenting kombucha, you are tipping the balance in their favor. More alcohol will be produced, and if all goes well the bacteria will be slightly outcompeted during the fermentation by the yeasts. Resulting in less alcohol being consumed by them.
How to incorporate more yeasts into the starter liquid: All you need to do is to try and take as much of the free floating yeast along with your starter liquid. These yeasts take the form of brown strings and bits and pieces. The most yeast rich place to take starter liquid from is usually the bottom of your SCOBY hotel. Failing that, the bottom of your previous batch of kombucha.
Add More Sugar into Your Kombucha
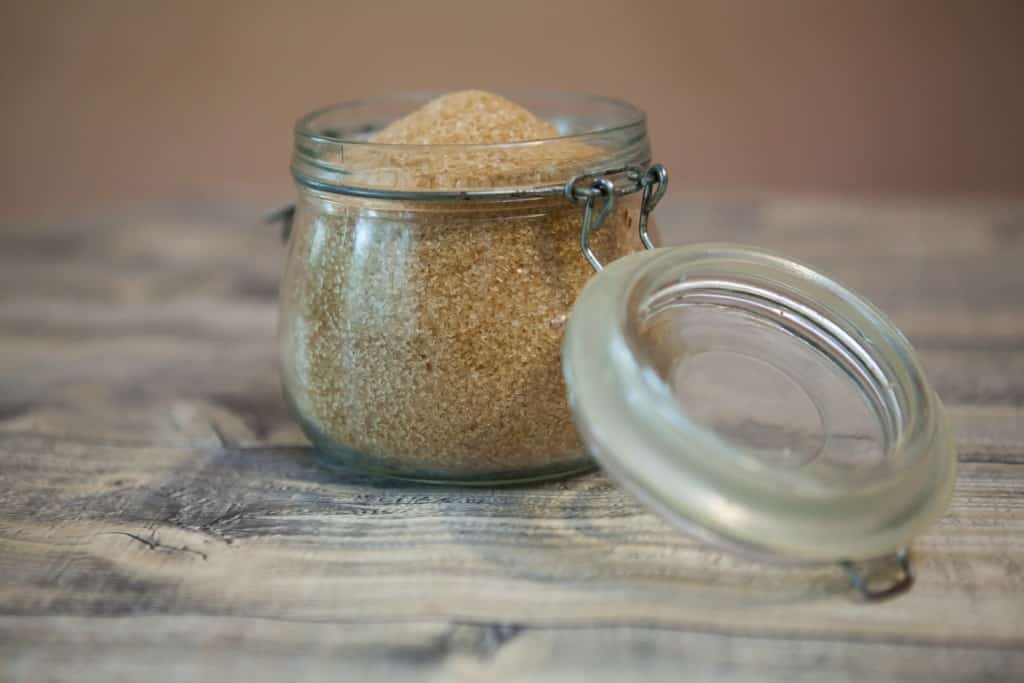
The other thing you need to do when setting up the primary ferment which you wish to turn into kombucha ale is to use more sugar in your sweet tea base. The reason for this is that all of those additional yeasts you added in need food! Remember they eat the sugar – the bacteria eat the alcohol. So in order to support the yeasts and boost their numbers and strength you can add as much as 50% more sugar to the primary ferment.
Do a Modified Secondary Ferment
Once you have made your kombucha and it has fermented, then it is time to do a secondary ferment. With some differences. The second ferment is done in the carboy with the airlock. Ale yeast is added, add well as a couple other things.
More Sugar
In order to sustain the new yeasts you will be introducing you need to once more add sugar, about 1-2 cups to 1 gallon. This will give them something to feed on so that they can get busy.
Flavoring & Fruit
Ales are traditionally made with the usually brewing culprits, such as roasted barley, differents malts and hops. By incorporating these into your fermenting kombucha you should be able to get some nice true to type ale flavor profiles. For a bit of fun and extra sugar for the yeasts, you can also incorporate some suitable fruit juice such as apple or pear.
More Time
Secondary ferments for making alcoholic variations of kombucha usually take longer than ordinary second ferments. This is because one has to wait for the ale or other home brewing yeasts to stop their activity.
Bottle and Age
Once the yeasts have slowed to a halt your brew will be ready. The next stage is to bottle it all up and age it. Aging is a bit of a grey area, even when it comes to conventional beer and ale making! Kombucha variations are a point of even less clarity. The safest option is to store your kombucha ale in the refrigerator. Here you can let is ‘rest’ for a few days or a week to allow the flavors to mellow. Once this is done you can either consume it right away or leave it to age further. As there is not really a hard standard to follow when it comes to aging kombucha alcohols, the best is to simple drink it over a period of time, taking note of when it tastes best to you. That way you will know for next time whether you want to age it or not and to what extent.
I forgot to mention earlier, for kombucha ale, you will need either fliptop bottles, or ones which you can put a cap on provided that you have a capper
And that is that! Let’s get going with the recipe.
Kombucha Ale Recipe
As you can see from the above sections outlining how kombucha ale is achieved – it is all pretty similar to standard kombucha making with a modified and ramped up secondary ferment. This recipe is for a 1 gallon batch of kombucha ale, but if you wish to adjust the quantities you can, just make sure that you stick to the ratios. I would recommend that before you put the primary ferment together you sort out the carboy airlock set up and get hold of the additional ingredients. That way you will be all set to go when it is time to do the secondary ferment. Goodluck!
What You Need
Equipment
- Carboy
- Airlock
- Your usual kombucha fermentation container and cover
- Fliptop bottles or bottles which you can cap (if you have a capper)
- Length of hose for siphoning
- Thermometer (optional)
- Hydrometer (optional)
- Small pot for boiling water
Additional Ingredients
- Black tea
- Sugar (approximately double the usual amount + 1 cup)
- Ale yeast
- 1 cup roasted barley
- 1 ounce fresh hops (if you can get)
- 1 cup molasses / malt
- 2 pints filtered water
- Malt
- Fruit juice (optional)
Method
Step # 1
Once you have all of your stuff together, make your sweet tea for the kombucha as usual. The only difference here is that you need to add in the extra sugar. Increase it by an additional 50% of what you usually use. Once the tea has cooled, set up the ferment. Make sure to try and get as much of the free floating yeasts as you can into your starter liquid.
Step # 2
Cover the kombucha and leave to ferment as usual for the normal time period. Once the kombucha is ready – it is time for the second ferment.
Step # 3
Bring out your carboy and airlock, as well as your additional ingredients. Bring roughly 2 pints (1 litre) of water to the boil. Add in the barley. Allow the water to cool slightly and add in the hops, 1 cup of molasses or malt and 1 cup of sugar. Allow the mix to cool to just about room temperature, but to the point where it is still slightly warm. Now it is time to add in the 1/3 of a teaspoon ale making yeast.
Step # 4
Once you have stirred the yeast in, it is time to put the whole thing together. In the carboy combine the kombucha (without the SCOBY) and your yeast/molasses/barley/hops mix. If you are incorporating juice you can put this in now as well. Give it a stir to combine it fully. Now seal up, checking to make sure the airlock is properly in place and not blocked.
Step # 5
Now place your brew in a warm darkish spot. Proper ales are brewed between 68 – 72 °Fahrenheit (20 – 22 °Celsius) as opposed to lager which is brewed between 45 – 55 °Fahrenheit (7 – 13 °Celsius). So try to aim for a moderately cosy spot for your brew. It does not have to be dark, but do not position it where it will be in direct sunlight. Leave it there to brew until the yeast have stopped fermenting. The time it will take for this to happen will depend on the temperature. However you will be able to see when the yeasts are slowing down because there will be no more bubbles in the airlock. If you are not sure what is going on in your brew, you can also use a hydrometer to check the levels of residual sugar. The hydrometer should show a reading of less than 1.
Step # 6
As soon as the yeasts have stopped their good work, it is time to decant and bottle up your kombucha ale. With a piece of plastic hose, siphon your finished kombucha beer into bottles. Try not to get any of the sediment from the bottom into your bottles. Seal the bottles with caps or fliptops. Place into the refrigerator and age for a few days.
Final step…. sample and see! If you like what you get congratulations – you have entered the territory of home brewing. And your store room might have just elevated itself to the esteemed position of craft brewery facility. : P
Final Word
Making alcoholic versions of kombucha can be very rewarding. A braggable achievement in fact! ‘ Would you care to sample some of my Craft Kombucha Ale’…
If you feel that there is more to be desired from your batch, then you might want to play around with the variables abit. Such as the time of the primary ferment -perhaps you want to try shortening it. Or maybe you want to reduce the bittering by removing the hops. Go for it! Experimentation is key.
Some people have tried pasteurized versions of kombucha alcohol where the kombucha is heated up prior to the second ferment. This is a good idea to try if you are not meeting with success. However if you are turning out some good brews without pasteurizing, then you will not only have some unique sundowners on your hands, but they will also still be probiotic!

