How To Make Kombucha Alcohol
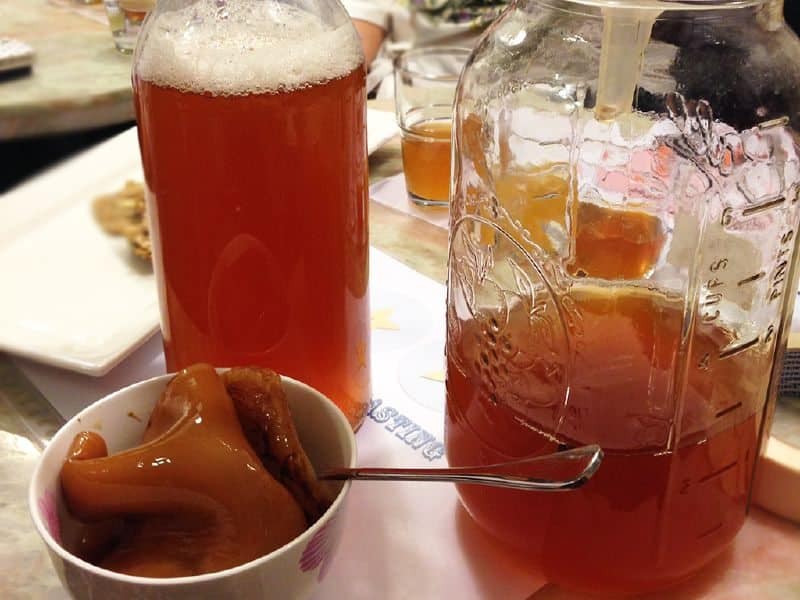
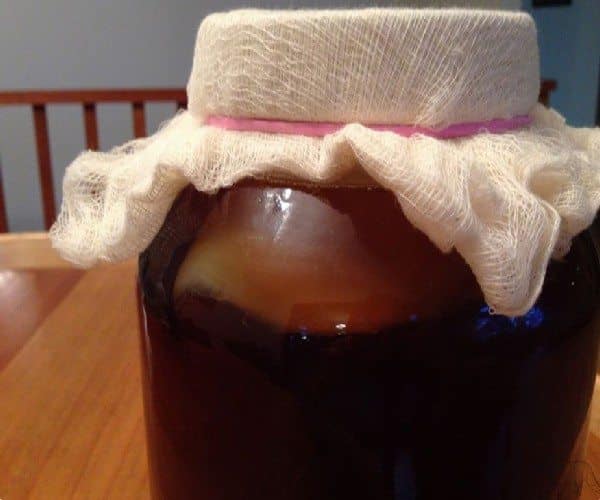
When you make kombucha tea, the microorganisms in your SCOBY (Symbiotic Colony Of Bacteria and Yeast) are acting together (that’s what the word “symbiotic” means) to transform the caffeine, polyphenols, and sucrose in the sweetened tea mixture into a vitamin-rich probiotic kombucha brew. The yeast eats the sugar and creates carbon dioxide (CO2) and ethanol, and the bacteria break down the ethanol into organic acids.
Ethanol is a type of alcohol. However, when you’re drinking kombucha tea, you’re not getting very much alcohol at all, usually around 0.5% at most. The bacteria will have used up most of the alcohol by the time your brew gets to the right level of sweet/sour balance. Even if you were to drink the kombucha tea while it’s still very sweet, you probably wouldn’t be drinking more than 1-2% alcohol, which is less than half of what you’d find in a “light” beer.
In fact, many drinks that you’d consider to be completely nonalcoholic have about as much alcohol in them as regular kombucha tea, including many types of fruit juice and bottled sodas – and even beer that’s sold as being “non-alcoholic.” That’s because anything that naturally ferments, like grains, fruits, and sugars, will automatically generate small amounts of alcohol.
Kombucha as a True Brew
If you want to add more alcohol to your kombucha and get it up to (or over) the alcohol percentage of beer, it’s best to think of it as a type of beer or wine, and apply standard brewers’ techniques to the process. You’ll also need some standard brewers’ equipment, if you want the best possible results.
Large Airlocked Containers
Up until now you’ve probably been doing your secondary fermentation in something like a flip-top glass bottle or a clean glass canning jar. When you’re working on increasing the alcohol in kombucha, you’re going to be adding ingredients that will produce a lot of excess carbonation, and unless you can control that process, you’ll run the risk of having your containers explode under the pressure.
What’s more, you’re going to be doing this secondary fermentation for several weeks at a minimum, and more likely several months. Unless you want to put “check kombucha fermentation” on your to-do list every single day (and possibly twice a day) for three months, you’ll need to use a container that you can set aside and essentially leave alone, with some supervision. The piece of specialized kombucha brewing equipment that lets you do this is called an airlock. Airlocks (or fermentation locks) allow excess carbonation to escape while protecting the contents of a container from outside contamination.
If you visit a brewing supply store, you’ll notice large glass and food-safe plastic containers called carboys that many brewers use for making beer and mead (a honey wine). These are often sold together with the airlocks that fit them.
You can use many types of jars for making kombucha tea, and some of these can be adapted for a long-term secondary fermentation. For example, if you normally use quart, half-gallon, or gallon sized glass canning jars, you should be able to find lids that have been fitted with airlocks in the right size for your jars.
Sugar and Yeast That Promotes Fermentation
Since it’s the yeast that does the work of creating the alcohol, and yeast needs a good supply of sugar to work, you’ll have to add more of both in order to get a significant increase in alcohol during second fermentation.
Wine Yeast
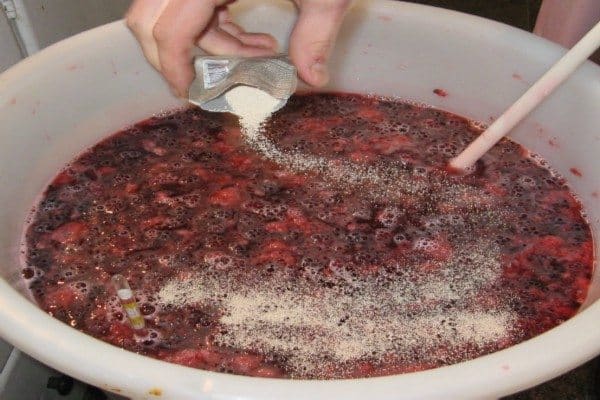
The yeasts that are naturally present in the kombucha SCOBY are a particular variety that have evolved to use fermenting tea as a food source and to produce a low-alcohol acid liquid in the end. That’s why simply adding more SCOBYs doesn’t add more alcohol. You need to add a variety of yeast that has evolved to transform sugars into large quantities of alcohol, and the easiest way to do that is to buy a packet of wine yeast. (Note: You could use regular bread-baking yeast from the supermarket, but you’ll probably end up with something that has a very “bready” flavor, which makes sense.)
You can get all sorts of different wine yeasts, depending on what type of flavor you want in the end. Start off by using a simple sparkling wine yeast (also called champagne yeast) and if you aren’t getting the results you want, try a red wine yeast, or a generic “distiller’s yeast” that many beer brewers use.
High-Glucose Sugars
The yeasts used to make wine and beer work best with glucose sugar compounds. Regular white table sugar is made of sucrose crystals, which are molecules of glucose and fructose combined. Honey has slightly less glucose than fructose, while maple syrup has four times as much glucose as fructose. Corn syrup is pure glucose, which is why many brewers choose it for the extra sugar boost the yeast needs.
You will also get additional glucose for your yeasts when you add fruit juice to the kombucha tea, and you’ll get flavor for your finished kombucha alcohol at the same time. Here are some fruit juices that are high in glucose and flavor:
Using both the added sugar and some fruit juice will give you the best results and flavor outcomes.
9 Steps to Making High-Alcohol Kombucha
- Stop your primary fermentation when the kombucha tea is still fairly sweet. If the tea is sour, that sour flavor will carry over into the finished kombucha alcohol.
- Remove the SCOBY and filter the tea into your fermentation container (carboy).
- Dissolve 1 cup of sugar in 1 cup of boiling (filtered) water for each gallon of kombucha tea. Let cool slightly.
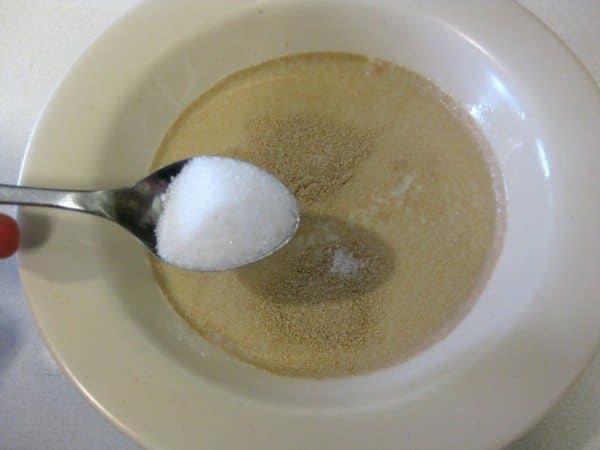
- When the sugar water has cooled to 80F (still warm to the touch) sprinkle 1/3 teaspoon of yeast on top of the sugar water and let the yeast rehydrate for 5-15 minutes. The yeast should be bubbly.
- Stir 1 cup of fruit juice for each gallon of kombucha tea into the fermentation container.
- Stir in the sugar water and yeast.
- Cap the container with the airlock and put in a dark place that maintains a constant temperature of 60F-65F.
- Check the airlock regularly to see if bubbles are present. If the airlock is bubbling, the fermentation is continuing.
- When there are no more bubbles, carefully pour the kombucha alcohol into flip-top bottles, leaving the sediment at the bottom of the container. Store in the refrigerator or a cool pantry for several weeks or months to let the flavor continue to develop.
The Final Word
To provide more guidance, we’ve written some very specific alcohol guides for komucha alcohol making. These are experimental type brewing guides, so you’ll need to test things yourself and tinker with the general recipe / brewing process. These are ADVANCED brewing guides. If you are a beginner, learn how to master basic kombucha brewing first and ideally, you should know how to home brew beer or wine FIRST before you try to ‘kombine’ the two.

