How To Increase Kombucha Carbonation

Freshly-brewed kombucha tea is a lightly-carbonated drink. When you’re making a basic kombucha recipe, you’re providing the SCOBY (Symbiotic Colony Of Bacteria and Yeast) with a supply of sweetened tea for its food. The microorganisms work together (symbiotically, in other words) to process the nutrients in the sweetened tea. The yeasts take the sugars and break them down into basic sugar molecules, primarily glucose and fructose, and absorb other organic elements like amino acids that they use to divide and reproduce. The action of the yeast produces two main byproducts at this stage: ethanol (a type of alcohol) and carbon dioxide (CO2).
When carbon dioxide is dissolved in a liquid, it creates carbonation. If you look at the brewing container, you’ll probably see some bubbles around the edges of the SCOBY, especially at the beginning when the yeasts have the most sugars to work with. Don’t worry if you see lumps and bubbles in the SCOBY itself – that’s usually just carbonation getting stuck between the colony layers, and you should still have a healthy SCOBY even if the surface of the colony isn’t completely smooth.
Why Fresh Kombucha Tea Isn’t Super-Fizzy
With all that CO2 being produced by the yeasts, why isn’t your fresh kombucha tea full of carbonation? Because only a small amount of CO2 will stay dissolved in the liquid, unless something keeps it from escaping. Your SCOBY needs to breath – it takes in oxygen and releases CO2, just like you do – so you’ve only covered your brewing container with a piece of tightly-woven material that lets the air flow evenly to the colony and back again. The oxygen is being pulled in by the SCOBY, and the CO2 is flowing out again. You’ll only be able to keep the CO2 in the liquid tea when you cover the brewing container with a tight seal, and you can’t do that until the SCOBY is out of the jar.
Once you remove the SCOBY, you can cover the brewing jar, and the yeasts that remain in the tea will continue to convert any residual sugars, creating carbonation. If you leave your fresh kombucha tea in a sealed container at room temperature, the yeasts will keep working until all of the sugars are gone, and you’ll get a more carbonated brew. Putting the container in the refrigerator will slow down the action of the yeast, but you’ll still notice an increase in carbonation.
While most people focus on adding carbonation during secondary fermentation of kombucha you can also adjust the way you do the first fermentation to boost the overall bubbliness of your kombucha tea, whether you do a second ferment or not.
Increase Carbonation During Primary Fermentation (Brewing)
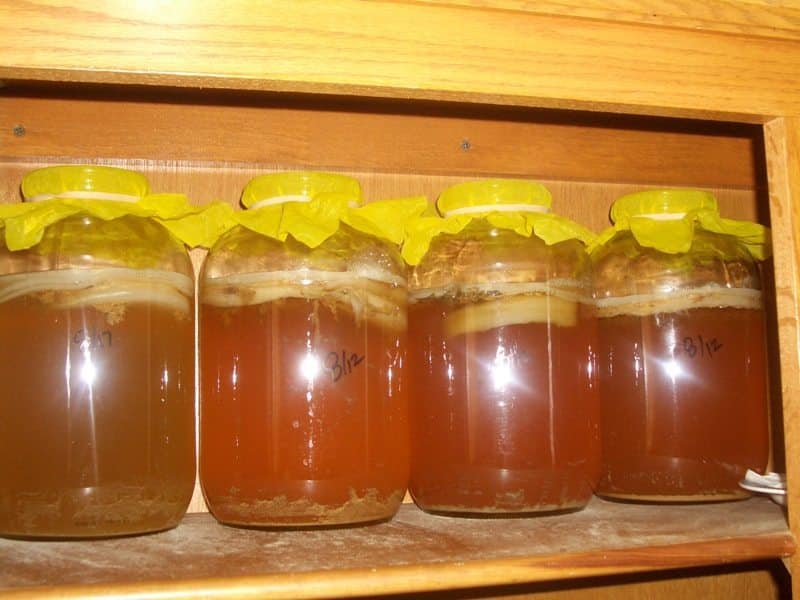
Although most of the CO2 will still escape the open container while you’ve got the SCOBY in the jar, you can keep the level higher by making sure that there is more CO2 in general, over a longer period of time. You can do that in four different ways:
- by putting more yeast into the starter culture
- by keeping the supply of sugar constant
- by providing more of the other nutrients the SCOBY needs
- by increasing the temperature of the container
NOTE: You can use any one or all of these techniques alone or in combination, but keep in mind that you may also be changing the yeast/bacteria balance in the SCOBY. Also, altering the amount of sugar or other nutrients will have an effect on the brewing time for kombucha tea and will change how the flavor develops, especially the balance between sugar and acid. Be sure to test your tea regularly, by tasting it and by using a pH meter or test strips. Keep a record of changes you’ve made in the basic recipe, and what the results were, so you’ll know what works with your particular SCOBY and your unique brewing environment. Remember, every SCOBY and every batch of kombucha is different!
1. Encourage the Yeast
While the yeast and the bacteria work together to ferment the sweetened tea mixture and turn it into finished kombucha, it’s the yeast that are creating the carbon dioxide. Fewer yeast microorganisms in your SCOBY mean less natural carbonation. More yeast means more carbonation, as long as you control the process – if the yeast gets out of control, your kombucha tea won’t have a good flavor, and the yeast may start crowding out the bacteria, leading to an unhealthy SCOBY.
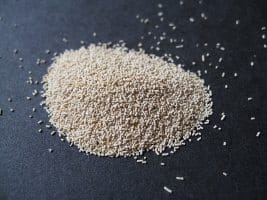
One way to add more yeast without compromising the SCOBY is to use starter liquid that’s already full of yeast. The best place to find this is at the bottom of your SCOBY hotel, where the free-floating yeast tends to settle. You’ll see clumps and strands of brownish material at the bottom of the jar, and those are the live yeast clusters.
However, there’s also dead material at the bottom of your SCOBY hotel, especially if you haven’t cleaned it in a while, and that dead material will generally give your kombucha tea an “off” flavor. If you’re going to use this bottom-of-the-jar liquid, be sure that you’re maintaining a clean hotel.
2. Use More Complex Sugars
When the yeasts are provided with sugars, they start feeding as quickly as possible, and keep going until the sugar runs low. That means there’s a spike of CO2 at the beginning of the brewing cycle, and then a drop as the yeast slows down and the bacteria start processing the ethanol and residual sugars left over from the yeast’s feast. It will take a few more days (at least) for the bacteria to convert these nutrients into organic acids and get the kombucha tea down to the right pH and flavor level, and all that time the CO2 will be escaping from the liquid.
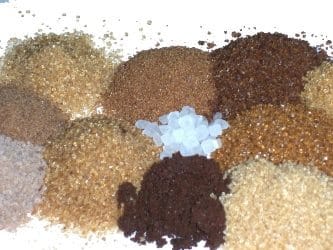
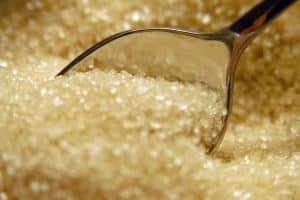
One way you can regulate this and keep up a more even production of CO2 is by giving the yeasts more complex sugars. When you use organic white cane sugar, which is mostly sucrose molecules, the yeasts can easily break those molecules down and use them. If you choose a more complex sugar, like unrefined cane sugar, brown sugar, or molasses, the yeast has to work harder to convert the sugars into ethanol and CO2, so the process goes more slowly.
Using a mix of complex and simple sugars will usually give you more CO2 in your finished kombucha tea, especially if you also increase the total amount of sugar slightly, allowing the yeast to stay active longer.
3. Add More Tea
What do you do when you want to stay awake? You drink tea, or coffee, or something that has caffeine in it. (Kombucha has caffeine in it, though not as much as tea or coffee, and there are ways to make caffeine-free kombucha.
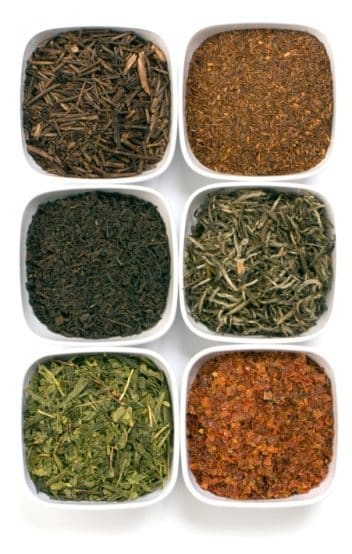
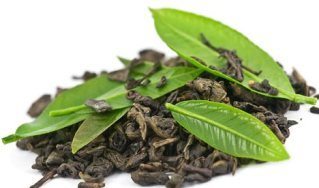
What works for you also works for the yeasts in the SCOBY. Extra tea gives them the extra nutrients they need to stay active, especially as the amount of sugar in the kombucha tea goes down. Some people have found that using green tea gives the most carbonation. Experiment with any of the types of tea for brewing kombucha and see what gives you the best result.
4. Keep it Warm
The SCOBY works best when the temperature is around 72F to 75F, but the yeasts in the SCOBY actually like it a little warmer than that. You can encourage the yeast to be more active by starting out your primary fermentation at a higher temperature, between 78F and 82F. Keep the container at this temperature for the first 24 to 28 hours, or until you see bubbles around the edges of the SCOBY and/or the edge of the jar, then drop the temperature back down to the optimum brewing range for the remainder of the brewing cycle.
Increase Carbonation With Secondary Fermentation (Bottling)
Using the techniques above will usually give you a bubblier brew, but the way to really boost the carbonation in your kombucha is to bottle it and do a second fermentation. Once you put a tight seal on the bottles, the carbonation will start to build up. Since there are still yeasts and sugars in the kombucha tea, the carbonation will continue, especially if you leave the bottles at room temperature. When you put the bottles in the refrigerator, the yeasts will go dormant.
Overview
For even more carbonation, you can use several different techniques during second fermentation:
- keep as much yeast as possible in the liquid
- give the yeasts more food to process
- use flavoring ingredients that provide a natural carbonation
- use airtight seals on the bottles/containers
- start the second fermentation at a higher temperature
You can do the following to ensure your secondary fermentation produces as much carbonation as possible:
1. Don’t Filter the Tea
To continue the production of CO2, you need yeast. You’ve removed the SCOBY, so all the yeasts in the colony are gone, but there are still free-swimming microorganisms, both yeasts and bacteria, in the kombucha tea itself. You’ll probably see more yeast clusters at the bottom of the brewing jar. Some of these will be dead, but most should still be alive and active. If you filter your tea when bottling, you will filter out these yeasts, and you won’t get as much carbonation.
You should also stir the kombucha tea in the brewing jar to evenly distribute the yeast before you pour it into the bottles. If you don’t, some bottles will have more carbonation than others.
2. Add Extra Sugar
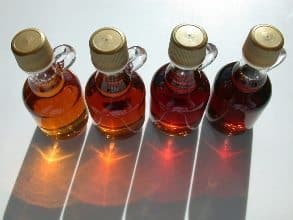
All of those free-swimming yeast need energy, so help them stay active (and producing more CO2) by giving them a little extra sugar. Normally, you’ll stop the primary brewing process while the kombucha tea is on the sweet side, so that the continued bottle fermentation doesn’t end up too sour. The yeast will use the residual sugars already in the tea, but you can give them additional sugar now to provide them even more fuel. This is a good place to use sugars that also give you different flavor profiles, like honey, maple syrup, and coconut sugar.
3. Add Fizz-Friendly Flavor Ingredients
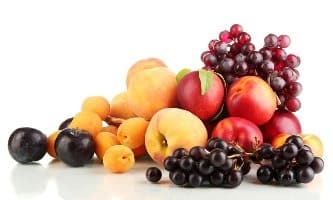
Fruits are very high in sugar as well (they contain fructose) and adding fresh fruit, frozen fruit, dried fruit, fruit juice, or pureed fruit will add flavor and yeast-friendly fuel that also helps promote more carbonation.
Acidic fruits tend to produce the most carbonation. Fresh or frozen strawberries make a delicious kombucha tea with lots of antioxidants and vitamin C. While fresh apricots aren’t always tart, they become more acidic when they’re dried and concentrated, and using dried apricots will let you do a longer second fermentation that results in a deeper and more complex flavor. Pineapple usually creates a very fizzy kombucha, so if you’re using fresh or canned pineapple, be careful when you’re opening the bottles.
Fresh ginger is another good source of natural carbonation, and it adds a great spicy flavor as well. Fresh ginger is also good for you, and it adds antioxidants and anti-inflammatory compounds to your kombucha tea. Ginger is often used to help with upset stomachs or motion sickness. Ginger also tends to produce a lot of carbonation, so be careful with the seals on your bottles.
4. Use Tight Seals
When the carbonation can’t escape, the pressure builds up and more bubbles are created when the CO2 is finally released. The better the seal on your container, whether that’s a jar or a bottle, the more CO2 will build up.
You can use several different types of bottles for kombucha but whether you choose glass or plastic, you need to make sure that the cap or seal you use is tight enough to keep in the CO2, but loose enough that you can “burp” the bottles if the carbonation is building up too quickly. Too much carbonation, and your bottle could explode. This is especially important if you leave the bottles at room temperature.
Note that some of the canning jars with rubber seals are designed to RELEASE pressure (which carbonation produces) when it builds up. If you are doing a secondary ferment in one of these types of jars, your finished ‘buch’ won’t be as fizzy as if you used container/jar/bottle that was completely sealed.
5. Fill Kombucha almost to the top (1 inch from top of container/bottle)
The less space you leave in the container you are second fermenting your buch in, the stronger your carbonation. We suggest you fill your container (jar or bottle) nearly to the top with your second fermenting kombucha — about 1 inch from the very top.
6. Use Bottles with Sealed Tops
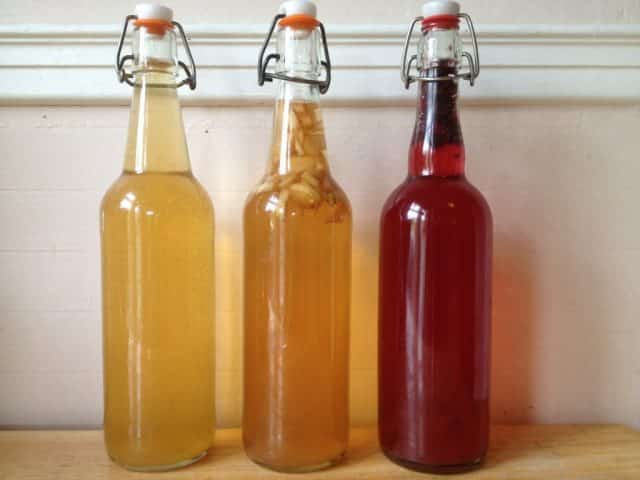
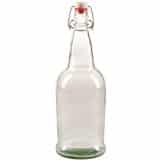
One of the BEST ways to increase carbonation in your Kombucha is to use small bottles with a latch/sealed top. You can buy these specifically made for kombucha or homeage alcoholic beverages. Using these will almost certainly ensure you will have strong fizz in your kombucha after a second ferment.
When it actually comes to Kombucha Carbonation, I recommend the EZ Cap Bottles. These produce the best fizz.
CASE OF 12 – 32 oz. EZ Cap Beer Bottles – CLEAR
IF you want better carbonation, I recommend this set of 12, 32 oz EX Cap bottles. For a second ferment, you simply put your kombucha + fruit and let it sit for a couple days. You will have a very strong fizz. Keep in mind you may need to burp the bottles every day or two to prevent too much carbon buildup.
These 32 oz are good if you want to share the Kombucha around. If you want am more personal size ‘soda pop’, then get the 16 oz variety below.
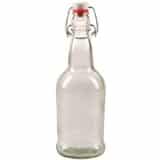
CASE OF 12 – 16 oz. EZ Cap Beer Bottles – CLEAR
This is about the size of a soda pop can. And you get a great fizz.
I recommend you buy the a case of 32 ounce and a case of 16 ounce and try both — you’ll find the size that you best like and you’ll have enough bottles to handle a lot of Kombucha — enough for a household brew every two weeks.
7. Airlock with Bung
If you want to step up both your carbonation level and your alcohol level up a notch, then you need to move on to an actual airlock + bung — the two pieces of kit that will turn your Kombucha into something more fizzy and more alcoholic.
Normally, you only do a second ferment for 1-5 days. And you have to continually burb the containers to release to pressure, which also allows O2 back inside. Even if you have a container that’s fully sealed and you don’t open, you likely can’t leave it for a long period of time because of the gas buildup. So you need a way to release the gas while completely keeping O2 out, to allow the yeast to continue to ferment the brew.
You The idea here is the you allow the excess C02 to escape but lock out the O2 from entering. Since secondary fermentation is anaerobic (no oxygen) and one by the YEAST in the kombucha, you get a nice deep ferment going on with enough CO2 fizz locked into the brew. This also allows only the yeast to start fermenting and if you leave it long enough, the alcohol content goes up, making a sort of Kombucha wine or Kombucha alcohol if you leave it long enough.’ll need three things:
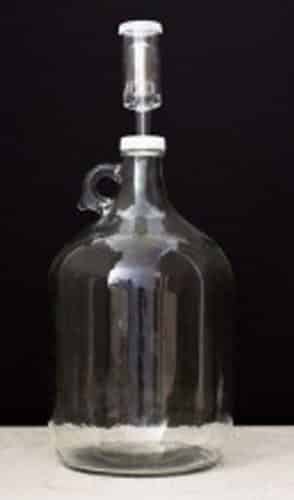
1) a Glass bottle to ferment your Kombucha (I recommend a 1 Gallon for starting off, but if you get serious you can easily buy a 5 Gallon which will work with a matching bung and airlock
2) a ‘Bung’ which is basically a rubber cork-like cap you push into the top of the bottle which seals it. The difference is this has a hole which you then fit the airlock into, allowing the C02 gases to escape.
3) An Airlock. This is a tube like container that fits into the bung allowing the Co2 to escape out the top but won’t let any O2 back in. It’s the magic that makes it all happen.
I recommend you read my How to make Kombucha Alcohol and How to increase Alcohol Content in Kombucha for more info. Keep in mind, you can just use this to increase secondary fermentation time to increase the flavors — you don’t have to necessary make more alcohol as long as you leave the secondary ferment for 1-2 weeks.
Recommended Airlock Fermentation Kit for Kombucha
If you want this, I suggest you buy this kit for 15 dollars on amazon which includes a 1 gallon container, the bung, and the airlock. This is all you need to get started on a new level of fermentation. You can do stuff you could normally not do with just regular bottles. This includes being able to just leave your secondary fermentation for days and weeks and months.
1 Gallon Glass Wine Fermenter-INCLUDES Airlock
Allow Carbonation to Develop
After you pour the brew into your bottles, with or without additional kombucha flavoring ingredients,you can leave them at room temperature for one to three days so that the yeast stay as active as possible and continue to produce the CO2. Remember to watch the carbonation levels carefully to avoid any leaks or explosions.
Once the level of carbonation is high enough to make a great bubbly brew, store the bottles in the refrigerator or another cool place to force the yeast to become dormant, and to keep your kombucha tea fresher for a longer time. Check the bottles regularly to make sure that the pressure is not building up too much, and that the flavor is developing the way you want it.

