How To Bottle Kombucha
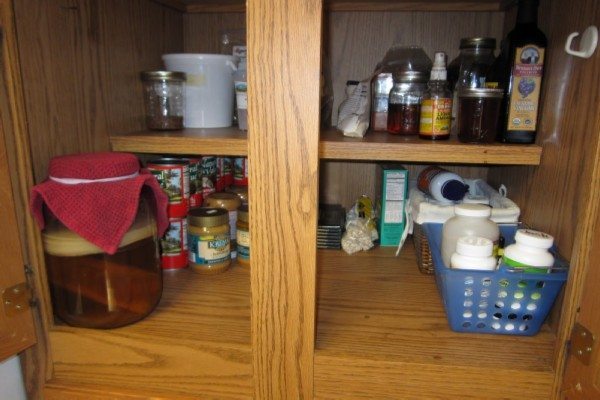
First, let’s define “bottle.” When it comes down to it, simply putting a tight lid on your brewing container (after removing the SCOBY, of course) could be seen as “bottling” your kombucha, even though you’re not using any other containers. Many people do just that, especially if they’re brewing small single batches in quart-sized jars that store easily in a cool cupboard or in the refrigerator.
In fact, people who use a continuous kombucha brewing system often pour their kombucha tea directly into glasses without bothering about bottles or sealed containers at all. With that sort of setup, you’ve got a constantly supply of freshly-brewed kombucha tea, and no need to worry about other containers.
However, there are advantages of bottling kombucha:
- You can get more carbonation by sealing the bottle.
- You can add more flavor during second fermentation.
- You can store your kombucha for a longer period of time.
To get the best results, you need the right equipment, and the right techniques.
Step 1: Choose The Right Bottle
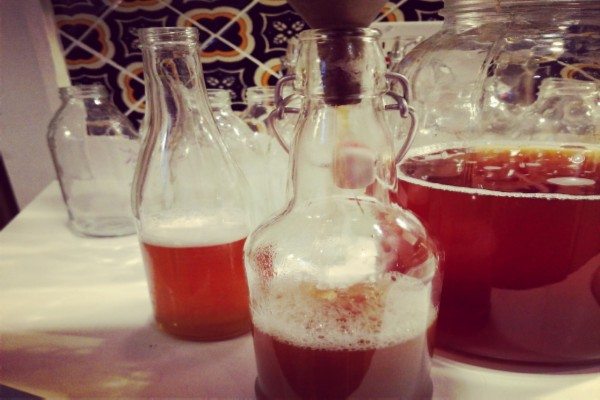
Before deciding on which bottles to use, think about what kind of storage space you have, and how much kombucha you drink each day. Once you unseal a bottle, you’ll lose the carbonation that has built up, so it’s usually better to choose smaller one-serving bottles if you like kombucha with a lot of carbonation.
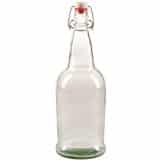
Tip: I’ve done a number of my own tests over the years and every single time, the SMALLER latch style bottles produce a much better level of carbonation (and a deeper flavor) than using a large lid jar or canning jar. For the BEST secondary ferment and the most soda-like carbonation, do yourself a favor and use the EZ Cap style bottles. You can pick up a pack of 12 sixteen ounce bottles on Amazon for about 30 bucks or you can get 12 thirty-two ounce ones for about the same. If you make ONE investment into your Kombucha brewing, this is where you want to put your money — trust me on it. The best 30 or so dollars you will spend that will yield far tastier Kombucha.
If you like fizzy kombucha, you’ll want to choose containers that seal tightly (again, I point you to the EZ Cap bottles). If you are happy with the light natural carbonation in most kombucha tea, you can use containers with screw-top lids, which seal fairly tightly but still let some CO2 escape. On the other hand, if you want a lot of bubbles, you’ll need an airtight seal.
Glass bottles with flip-top seals are an excellent choice. You can buy them new, or buy a case of beer or other drink that uses these “Grolsch” style bottles and recycle them to use for kombucha. If you’ve got friends who drink this type of beer, ask them to save the bottles for you.
Many people use recycled plastic water bottles to bottle their kombucha. Because the acids in the kombucha tea will start to degrade the plastic over time, it’s best to only use these bottles for a few batches and then throw them away. A plastic water bottle is also a good “marker” bottle if you’re doing something that will add extra CO2 after bottling (see below).
Other Useful Equipment for Bottling Kombucha
To make the bottling process quicker, cleaner, and easier, invest in these pieces of equipment:
- a plastic funnel
- a mesh strainer and/or cheesecloth
- a bottling siphon
- a bottle brush
If you’re planning on making kombucha alcohol you’ll also want to look for containers fitted with airlocks. A bottle capper is also handy for making tight seals for long-term storage. These and other pieces of specialized brewing equipment give you the tools you need for making complex and deeply-flavored kombucha.
Step 2: Clean and Check Your Bottles
No matter what you use as a bottle, make sure that there are no cracks, chips, or weak spots. If the CO2 builds up inside the bottle, these places could rupture and break, and you could end up with a potential dangerous explosion, especially if you’re using glass.
Yes, this has happened to me. I used some low quality EZ Cap style bottles I bought while abroad and they exploded when doing a second ferment Kombucha.
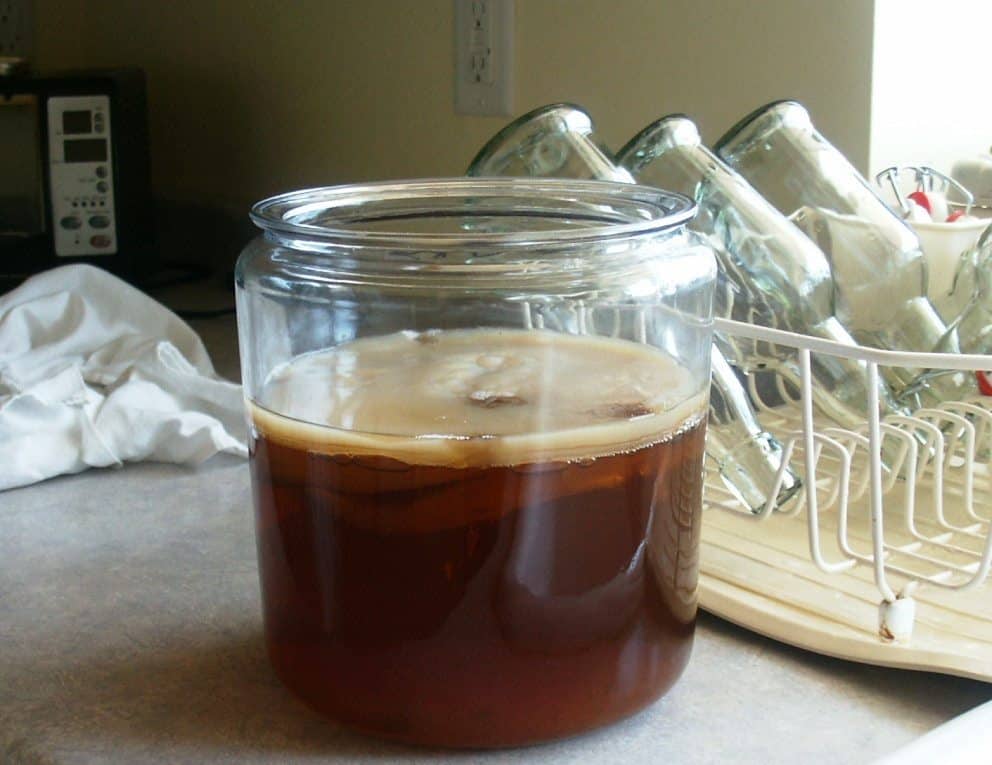
Be sure to clean the bottles well before you use them. Use hot water with a mild soap, then rinse the bottles thoroughly in hot water. An additional rinse using distilled white vinegar is a good way to remove any remaining soap scum. Let the bottles air-dry on a rack upside down to keep out any dust or dirt. I don’t recommend skipping the cleaning step as you are far more likely to get contaminants such as MOLD growing in your Kombucha.
Step 3: Add Flavoring Ingredients to Kombucha (Optional)
Bottling plain kombucha tea will give you some additional carbonation, better shelf life, and a deeper flavor as the tea ages. You can also add more flavor and carbonation by adding additional flavoring ingredients like these:
- Sugars will feed the yeast and produce more CO2. The yeast will eat most of the sugar, and the tea will get slightly sweeter. If you want to sweeten the tea more without adding carbonation, choose a natural sugar-free sweetener like stevia or xylitol that the yeast can’t eat (do note that since the yeasts won’t be able to eat these non-sugar based sweeteners, you won’t get a carbonation buildup as the byproduct of the yeasts eating the sugar — and make sure you you only use these during the secondary ferment process AFTER you have removed your SCOBY).
- Fruits and vegetables also add sugars that the yeasts can use, as well as great flavors.
- Herbs and spices usually won’t add CO2 but will add a lot of flavor. Fresh ginger is one popular ingredient that does add carbonation.
You can put these ingredients directly into the bottles before filling them with the kombucha tea, or you can add flavor to kombucha by doing the second fermentation in a larger container and then filling your bottles with the flavored tea.
Step 4: Filter the Kombucha Tea (Optional)
Some people filter the brewed kombucha tea while filling the bottles because they don’t like the extra particles of yeast at the bottom of the brewing jar. There is NOTHING wrong with eating / drinking those yeasty Kombucha bits (in fact, if you take a sample of Kombucha — even filtered — and put it under a microscope, you’ll find the same yeasts in the mix anyways. Those big bits are just a combination of smaller bits either way.
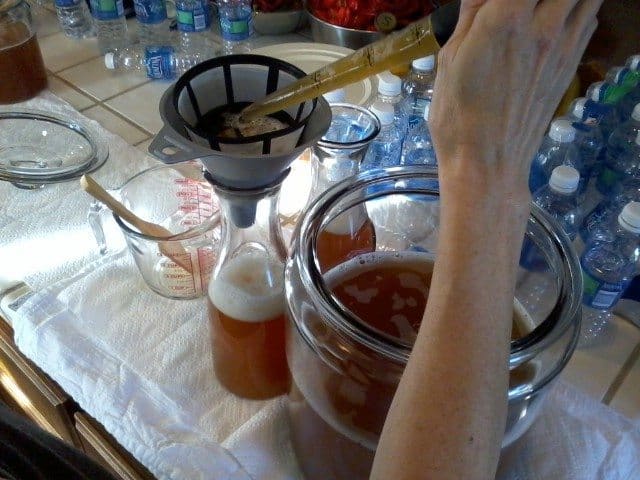
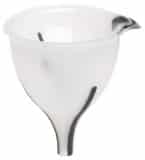
But if having large bits of SCOBY/Yeast bother you, feel free to filter them it. If you want to filter the kombucha, you can use a mesh strainer while pouring out the tea, or a funnel that has a strainer built into it.
We recommend this funnel which has a strainer built into it (makes filtering the Kombucha easy):
If you’ve done your flavoring in a larger container, you may want to filter the kombucha tea before you pour it into clean bottles, especially if you’ve used ingredients like fresh fruit, which creates pulp inside the liquid and may attract mold during longer storage, or small whole spices that could pose a choking hazard.
Step 5: Fill and Seal the Bottles
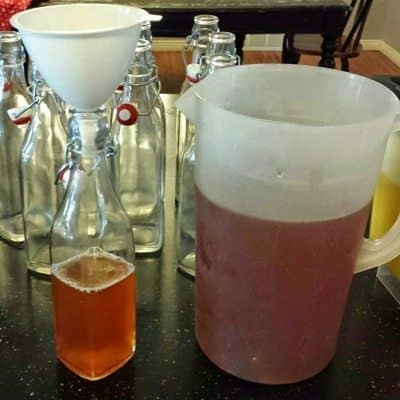
Pour the kombucha tea into the bottles until they are filled almost to the top. Now that the SCOBY (the Symbiotic Colony Of Bacteria and Yeast) is out of the way, you want to switch the action of the yeasts and bacteria in the tea from aerobic (with oxygen) to anaerobic (without oxygen). This will help create the most carbonation, and will slow down the kombucha bacteria’s production of organic acids, which will keep the brew at a good flavor level. It also helps keep away most potentially toxic bacteria, which require oxygen to survive.
Many people use a plastic bottle to help them judge how much CO2 is building up inside the glass bottles. When you’re filling the bottles, fill the plastic bottle first, leaving just enough room inside the bottle so that you can gently squeeze the sides. Fill the rest of the glass bottles and seal all the bottles. As the days go by, you can check the carbonation of the batch by squeezing the plastic bottle. When it’s hard, that means pressure has built up in all of the bottles, and you’ll need to “burp” them (see below).
It can be a bit messy transferring your Kombucha into the bottles for the secondary ferment, especially if you are
- transferring kombucha from a big glass jar to a smaller bottle (EZ Cap bottle or win bottle) with a narrow rim
- you are doing a second ferment of 2-3 gallons of Kombucha (or more) into smaller bottles
Helpful Equipment: The Bottle Siphon
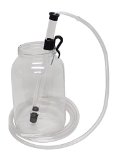
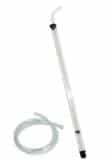
For this stage, we recommend you use a Mini Bottle Siphon which you can pick up for 10 to 15 bucks on Amazon. This is essentially a siphon with a bit of hose. You shove the siphon into the smaller bottle and the tube, which is attached to the end, into your SOURCE bottle you are transferring the Kombucha from (i.e. your first ferment BREW), and pump it. This then ‘pumps’ the kombucha from the big container into the smaller bottles, easy and fast with NO mess.
Trust me, this saves a lot of time and mess. It’s a worthy couple dollars you should spend to save time and mess.
We recommend this mini siphon with a clamp and tubing.
NOTE, if you are making a seriously big batch of Kombucha, you may want a larger siphon to increase the speed of transfer. This is useful for moving big batches of Kombucha (3-5 gallon jugs, barrels, or steel containers) into smaller containers (see image below). For most casual weekend warrior Kombucha brewing types, this will be too big — go with the mini siphon above. If you are brewing Kombucha from a continuous brewing system, are doing large amounts of kombucha, or you are trying to make a commercial Kombucha operation, you’ll want the big siphon.
Step 6: Store the Bottles (The Second Ferment)
If you want to create more carbonation in your bottled kombucha, leave the bottles at room temperature for 24 to 72 hours (or possibly longer, if it’s below 65F in your kitchen). Be sure to monitor the carbonation buildup so that you don’t get an explosion. Put the bottles in the refrigerator or a cool place after that period to store them.
TIP: You may also want to burp the bottles every 24 hours or 48 hours to release the pressure. Simply open up the bottle latch / lid to release the pressure then lock the lid again. If the room temperature is warmer than 80 degrees, you’ll definitely want to burp every 24 hours because the yeasts will be even more active and carbonation will build up faster (and more fiercely). Fail to burp your kombucha, especially in 80+ degrees, and you could risk a bottle explosion.
We have some articles about how to increase kombucha carbonation and how to increase the fizz in your kombucha.
If you have added flavoring ingredients directly into the bottles, or have poured unfiltered flavored kombucha that has fruit pieces or other ingredients in it into the bottles, you need to check the CO2 buildup and you also need to check the pH. If the pH of the kombucha in the bottles goes back up above 4.0 (which may happen with very long storage) then you run the risk of getting mold or toxic bacteria in the brew. This could happen even with unflavored kombucha, but the risks are higher if there are additional ingredients in the tea.
Note, read our full guide on how to do a secondary ferment of your kombucha for MORE information on this stage.
Step 7: Open and Enjoy!
Be careful when opening any bottle of kombucha, especially if you’ve done a second fermentation and added carbonation. Treat it like a bottle of champagne, and keep the opening of the bottle pointed away from your face. You can open the bottle over a sink to catch any kombucha that bubbles and foams over the top of the container when you open it, or wrap a towel around the lip of the bottle to catch the liquid.
It should be said once you are done with Step 6 (the secondary fermentation), put your bottles INTO THE FRIDGE. If you leave them out at room temperature, the secondary fermentation will continue and more carbonation will build up, possibly causing a bottle explosion or at the least, a mess when you open it. Note that the longer the secondary fermentation goes on, the less ‘sweet’ the Kombucha will be as the yeasts eat all the sugar — so we recommend only 2 to 7 days (at most) for secondary fermentation to keep the flavor profile sweet and deep.

