Essential Kombucha Equipment (The Bare Minimum Setup)
If you’ve been thinking about making kombucha but are worried that you don’t have the time to do it, the space in your kitchen, or the money to buy the equipment, stop worrying! Making kombucha at home is an easy process, and it doesn’t require a lot of material to start up your brewing system. A few minutes a day and a few dollars a week will provide you with plenty of kombucha to drink and even to share with friends. Who knows – you might end up as the newest kombucha king on the market!
You Have the Time
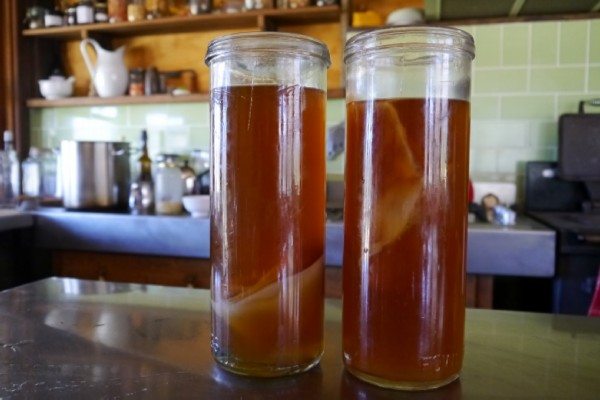
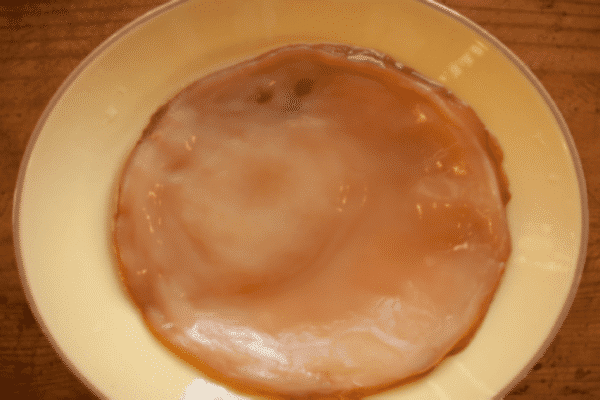
Even the busiest person can make kombucha. Making up a batch of sweet tea for the primary fermentation and getting the SCOBY (Symbiotic Colony Of Bacteria and Yeast) started doing its thing – transforming the sugary liquid into probiotics and other healthy nutrients found in kombucha – takes about half an hour. The average fermentation time required to get kombucha tea that’s not too sweet and not too tart is 10 days or so, though this kombucha brewing time will change depending on the ingredients you use and your brewing environment. You’ll probably spend less than a minute or two each day testing your kombucha to see when it’s ready to drink. If you’re going to drink your kombucha right away, putting it into individual bottles takes only a few minutes, and if you’re bottling kombucha in order to continue the fermentation process and add flavor and carbonation by making second fermented kombucha that process takes just a few minutes more. Basic cleaning and maintenance of your equipment takes almost no time at all.
In other words, you don’t need to rearrange your schedule to create large amounts of time for brewing. On average, you can make two gallons of kombucha every month in about two hours total. If you think about it, you probably spend at least that amount of time waiting for your computer to boot up!
You Have the Space
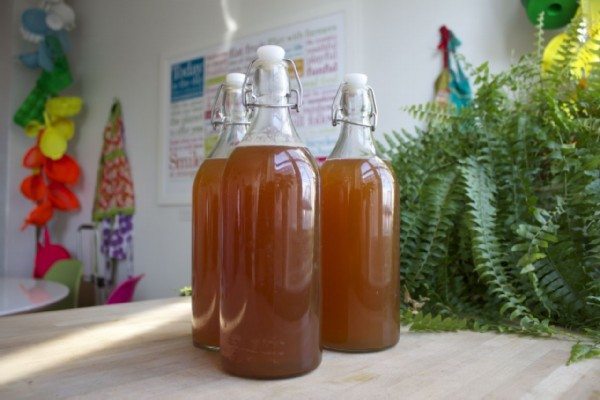
Even people in tiny studio apartments can brew kombucha. The SCOBY is adaptable and fits itself into the container it’s put in. This means that you don’t have to brew five gallons at a time, just because your friend does; you don’t even have to follow the recipe they gave you for a one-gallon brew if you only have room to store a quart jar on your counter or one or two bottles in your refrigerator. All you need is enough space to put your brewing container in a place where it won’t be disturbed during that first fermentation of 10 days (more or less), and enough room in your refrigerator for the bottles or containers you use once that first brewing cycle is done.
You Have the Money
Many of the things you need to brew kombucha are probably already in your kitchen: a tea kettle or a large pot for boiling water, a tea strainer or a tea ball, a wooden spoon, rubber bands, and so on. In fact, the only things you might not have on hand – other than the SCOBY itself – are the brewing jars and storage jars, but these are easy to find and inexpensive (or even free). With a few dollars spent on tea bags and sugar every week or two when you mix up your next batch of sweetened tea for your SCOBY, you’ll be saving hundreds of dollars a year on store-bought kombucha. When you do a cost breakdown and compare buying kombucha to brewing kombucha on a budget, it’s obvious which saves you more money in the long run.
Bare Minimum Equipment You Need for Kombucha Making
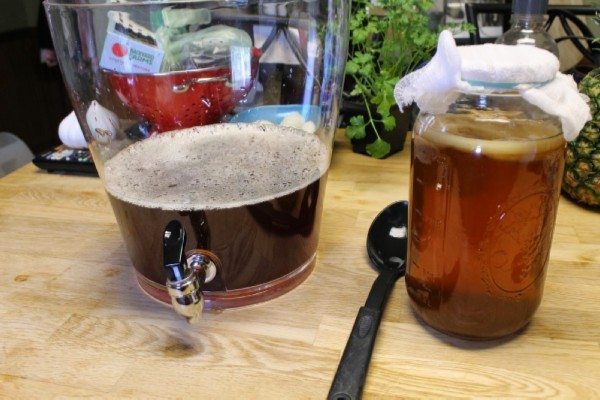
Here’s what you need to get started. The absolute. Minimum.
Brewing and Storage Jars
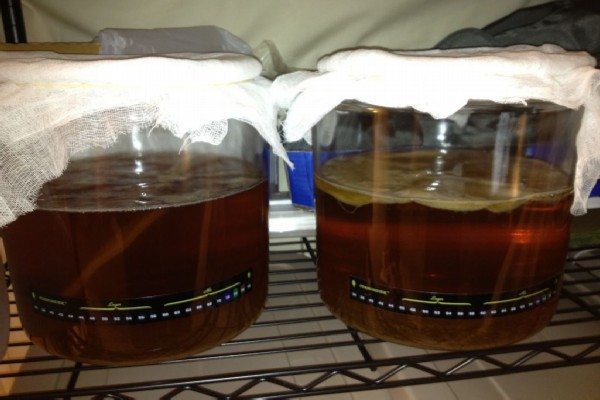
The best jars for brewing kombucha are made out of glass, because glass does not react with the acids in kombucha. Actually, “jar” here just means “container.” You can use any nonreactive container with a wide mouth for the initial brewing process. During this primary fermentation, the SCOBY will be taking in oxygen from the air and the nutrients and sugar from the sweetened tea, and releasing carbon dioxide (CO2) back into the air again as it deposits nutrients like vitamin B-complex, lactic acid, and various probiotic compounds into the fermenting liquid.
What Size Container?
Before you go out and spend money on containers, first think about how much kombucha you’re going to drink every week, and how much space you have to store the finished kombucha if you’ve made more than you can drink in a few days. If you make one gallon of kombucha every ten days, you’ll be bottling between 110-120 ounces of kombucha tea every ten days, or about 14 8-ounce bottles. Do you drink an 8-ounce bottle of kombucha every day right now? If not, you won’t be able to keep up with your own production – not to mention the fact that you’ll have to find room for those 14 bottles in your refrigerator. In addition, your brew time might be a lot faster, especially if the weather’s warm, and you could end up making 14 bottles a week, and needing to drink two bottles a day. Of course, you can give your kombucha to friends and spread the wealth (and the health) but that doesn’t solve the problem of storage space, or the workspace you’ll need to manage all of those bottles and lids when finishing off one batch and starting another.
NOTE: Another good option for small spaces and smaller quantities is to set up a continuous brewing system.
Start Small
Many people start out by using half-gallon or quart-sized glass jars. They’re easy to find, because those are popular sizes for home canning use. Since you don’t have to worry about lids, you can look for them at thrift stores, or check with friends and family to see if they have any old jars they’re not using any more. More and more people these days are into DIY and homemade preserves, so there’s probably a group in your area that can give you some tips on where to find jars that are in good shape.
The advantage of using quart-sized glass jars is that it’s easy to find plastic lids for them when you’re ready to store the finished kombucha tea, which means you can use the same jars for brewing and storage, and the quart jars are small enough that you can even drink out of them!
Thinking Outside the Jar
To really save money, look for wide-mouth containers made of glass that aren’t necessarily jars. Basically, any molded glass container that’s easy to clean and safe to use with hot liquid will work for brewing kombucha. However, avoid containers made out of two pieces of glass joined together; the heat and the acid will weaken the seam over time, and some sealants contain toxic material that will leak into your brew. If you have enough room for a goldfish bowl on your counter, you have enough space to use that bowl to brew your tea. Glass mixing bowls are also a good choice, and they’re definitely heat-safe.
Something to Stir Your Tea Mixture
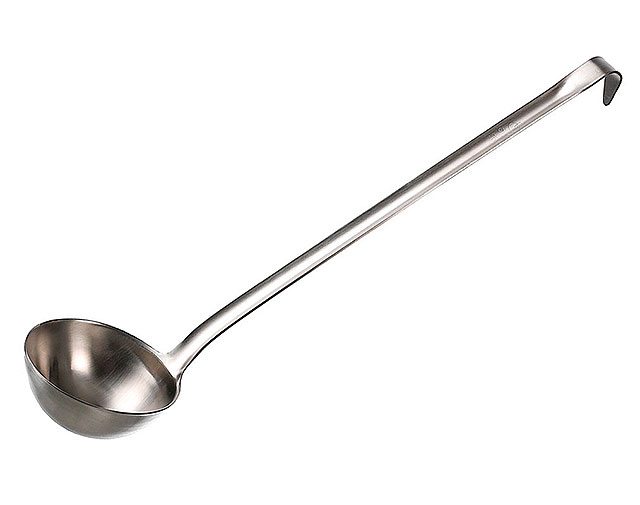
Typically, this can be anything. We recommend a wooden, plastic, or stainless steel utensil or ladle.
You’ll need something to stir the sugar into your tea, and something to transfer the fermented tea from your brewing jar to the bottles. A ladle is a practical choice for both, and you can get a good-quality professional-grade heat-resistant plastic ladle for just a few dollars. Avoid using metal utensils, because the kombucha tea is sensitive to metals and alloys. Stainless steel is a good choice, but you may have to pay more for a good quality ladle.
Another piece of equipment that will save you time and effort is a plastic funnel. Even if you’re using quart jars with fairly wide mouths, it’s easier to ladle liquid into a container if you’re using a funnel. Again, you can get a good-quality funnel at most supermarkets. If you want to get a funnel that has a built-in strainer, so that you don’t have stray bits of tea leaves in your brew, check restaurant supply outlets or cooking stores.
Recommendations for Spoons
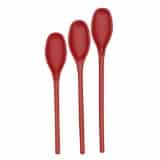
Plastic Spoons set
This is a no frills set of plastic spoons that will work. It’s a set of 3 heat-safe mixing spoons. Basic, cheap, and it will work just fine.
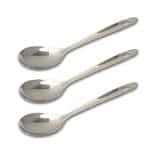
Stainless Steel Spoon Set
This Stain Steel Mixing Spoons (Pack of 3) is a good for Kombucha — both mixing the sweet tea and tasting the Kombucha mixture after it’s brewed.
Container to Boil Your Water
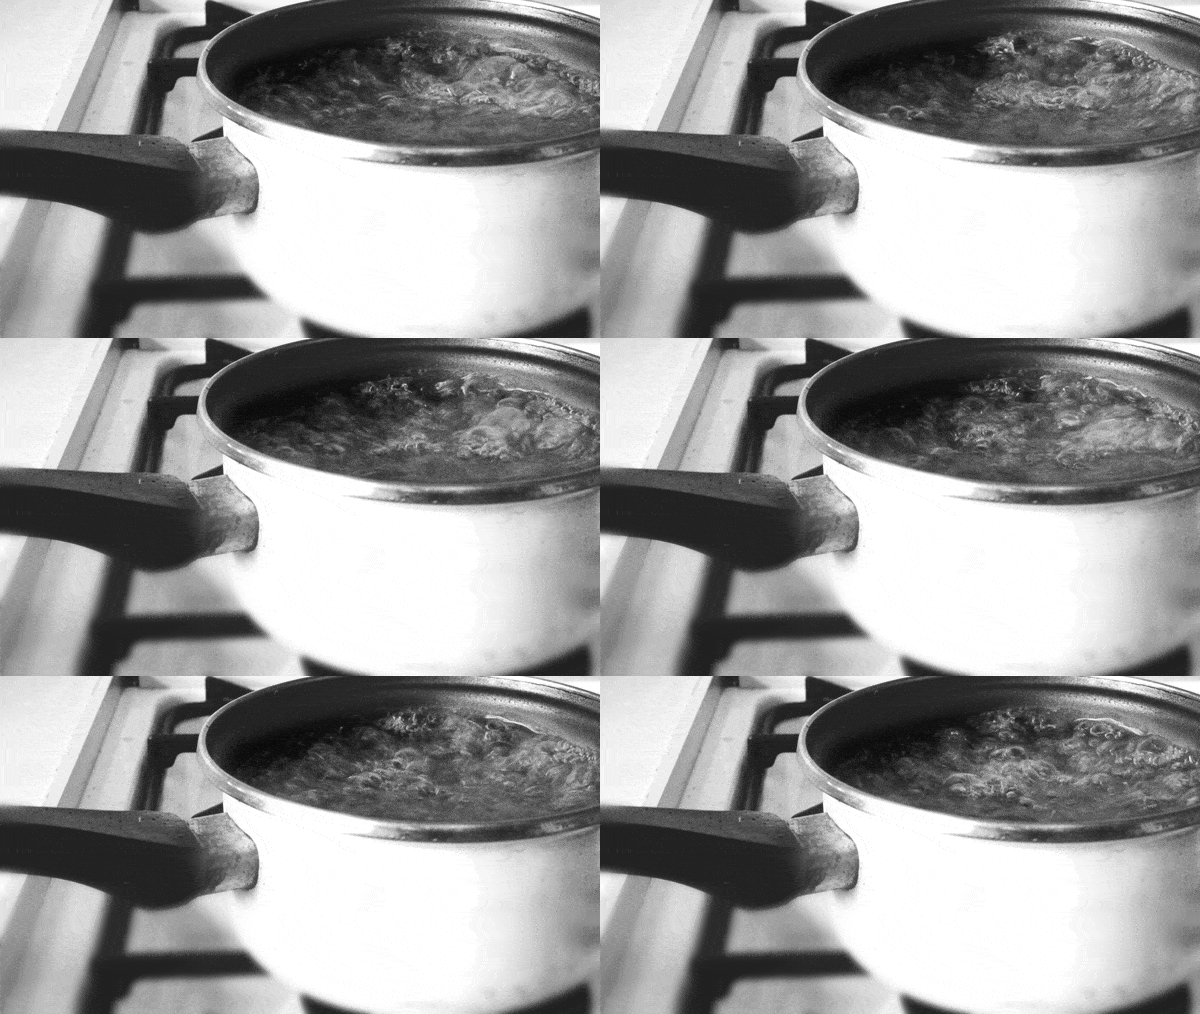
You need two things to make your sweat tea: You need something you can use to boil water, and something heat-safe where you can steep the tea and cool it down to the right temperature for the SCOBY.
Option 1: One Single Container to Boil Water AND Steep the Tea in (and optionally, brewing Kombucha in): If you’re using a stainless-steel kitchen pot, that can be the same container.
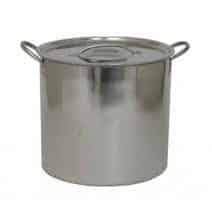
If your kombucha brewing jar or container is safe to use with boiling water, you can do everything in one place as with the 5 gallon steel pot recommendation above. That’s why using something like a stainless steel pot is convenient for both steps, and cuts down on equipment and cleaning. If you want to brew your tea in your kombucha brewing vessel, you boil the water in a pot, then pour it into your Kombucha container, add in the tea leaves or tea bags and let the tea steep.
Anything type of pot will do though, as I’ve found, the biggest time constraint when making kombucha is making the sweat tea. You can save time by just using a very big pot to boil water.
My recommendation for a big pot to make your sweet tea (you can also use it as the Kombucha brewing vessel too) is a 5 gallon stainless steel pot. It’s 32 bucks on Amazon and you can use it to make 2 to 5 gallons of sweet tea in one go.
Option 2: Container for Boiling Tea, a Different Container to Steep Tea in: You could also use a stopover or electric tea kettle to boil the water, and pour it over the tea in another container.
Option 3: Specialty Teapot: For some of the tea purists out there who want to use high quality tea leaves and brew them in the ideal container, you’ll want a quality porcelain or specialty tea pot that keeps the water at the ideal temperature for steeping tea leaves. However, these teapots are usually ONLY 1/2 gallon to 1 gallon in size, so they are not very good for making large batches of sweat tea at once. For 99 percent of you, this sort of thing is overkill. While having QUALITY tea makes a difference in the final taste of Kombucha, the brewing process tea process itself if not that important.
Tea-Brewing Equipment
You can use either tea bags or loose leaf tea for making kombucha (read that article in the link for a guide to the tea to use)
If you choose loose leaf tea, you’ll also need to get a stainless steel tea ball or other mesh container to hold the leaves so that you can remove them easily. You can also use a mesh strainer and transfer the steeped tea to another container by pouring it through the mesh. As you experiment with techniques and discover what’s most convenient for you, you’ll probably find that some of the nonessential kombucha equipment that you didn’t bother with in the first place actually turns out to be nice to have on hand.
Recommended for Brewing Tea
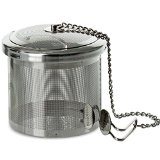
Tea Ball Infuser for Kombucha Brewing (to make the tea)
The FORLIFE Capsule Infuser (see image beside) has a fine mesh to hold in small tea and is large enough to brew up gallons of sweet tea at once (get two of these to be sure, that should tide you over for something like 4-5 Gallons).
Breathable Lid Cover
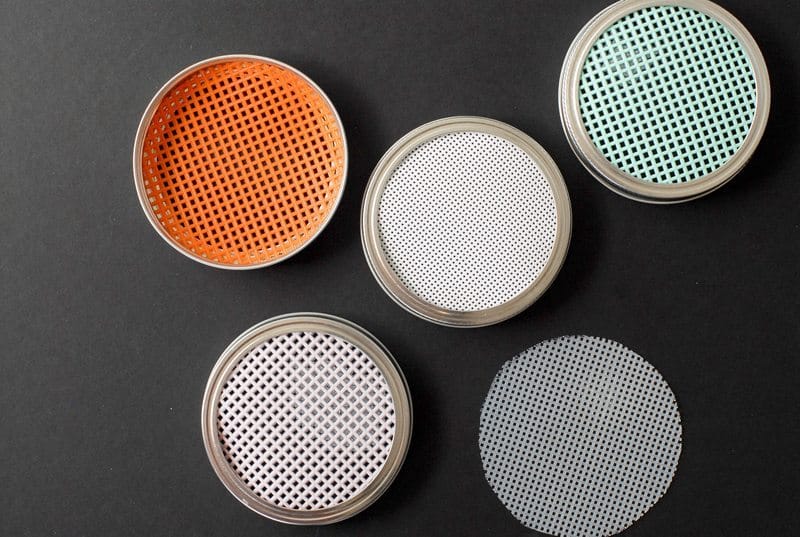
We’ve Got You Covered here.
Although you can’t put a lid on the glass jar or bowl – the SCOBY needs its oxygen – you do need to keep it covered to protect the kombucha from dust, mold, bad bacteria, and bugs. Fruit flies in particular are attracted to the sweet tea, and once they get into your kitchen they’re extremely hard to get rid of. You need a few pieces of material to use for covers on your jars, and something to secure the material so that there are no openings that expose your SCOBY to contamination.
The material you use needs to be thin enough to let air flow freely, but tightly woven enough so that it keeps out contaminants. Here are some options:
- pieces of old (clean) t-shirts without holes
- cheesemaker’s muslin (fine weave)
- linen dishtowels
- thin cotton kitchen towels (smooth, not fuzzy)
- basket-style coffee filters
- plain white handkerchiefs
To secure the material, use one of these:
- large rubber bands
- string or twine
- elastic hair bands
Make sure the material fits tightly all the way around the opening of the container, and you’ll significantly reduce the risk of developing invasive mold on the SCOBY.
Breathable Lid Cover Recommendations
I recommend just using Cheese Cloth. Just cut off a piece, double fold it over and put it over the top of your Jar/Container with a rubber band to hold it on the top:
Chef Premium FOOD GRADE 60* Fine Mesh Unbleached 100% Cotton
This is basic, cheap cheese cloth (10 bucks or so) is all you need.
Taste Testing Equipment
As the SCOBY changes the fermenting komucha from sweet to acid, you’ll want to check it regularly to make sure you know when to stop the primary fermentation process by removing the SCOBY. This means you’ll have to taste the liquid that’s lurking under the SCOBY, but you need to do this without disturbing the SCOBY. If you do everything you can to take care of your SCOBY, you’ll maintain the health of the colony and ensure that you always have the best brew.
Some people use a clean tablespoon, ladle, or large mixing spoon to press down the edge of the SCOBY and scoop up a little liquid, but that method runs the risk of getting external bacteria directly onto the SCOBY itself. If you’re going to sample your kombucha like this, be sure the utensil is completely clean and dry, without any soap residue. A better method is to take a disposable plastic straw and carefully slip it between the edge of the jar and the edge of the SCOBY. Place your thumb over the end of the straw to trap the liquid and carefully remove the straw.
Taste Testing Equipment Recommendations
Anything can work as long as it’s wood, glass, or stainless steel. You can use a spoon, ladle, or straw.
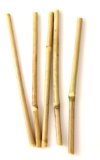
Tropical Bamboo Reusable Drinking Straws, Set of 12
These are useful to taste your Kombucha as they are so long and being Bamboo are natural and won’t interact with the Kombucha. Just dip it in and take a sip and you’ll know right away how your Kombucha brew is.
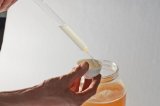
Glass Sample Taker/Thief
Another option is to use a Glass Sample Taker which is like a long narrow glass straw where you simply hold the end with your thumb, dip it in, and this sucks in kombucha into it. You then put the Glass Taker over another container, release your thumb from the end and the sample is transferred to the container.
Bottling Equipment
Once the kombucha is at the flavor stage you prefer, you can transfer it to clean glass or plastic bottles (recycled bottles are fine) that you can seal with plastic screw-top lids or with flip-top lids. If you’re brewing in smaller containers like quart jars, you can simply remove the SCOBY, close the container with a plastic lid, and put it in a cool place or in the refrigerator.
Extra SCOBY Storage
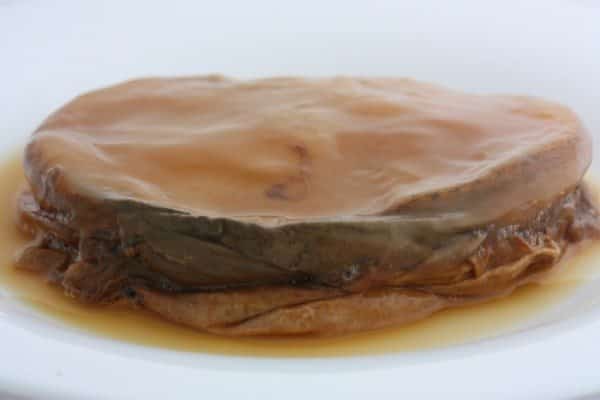
Every time you make a new batch of kombucha, your SCOBY “mother” will create a new “baby” and you will need to separate the baby SCOBY from the mother when it gets big enough. You can give your extra SCOBYs away, or save them in a SCOBY hotel. A SCOBY hotel is just another glass jar that has kombucha and one or more SCOBYs in it – another reason to stock up on glass jars.
Any glass container will work, but since you’ll be storing a half dozen or even a dozen Scobys in, you want a very wide lidded.
Scoby Hotel Storage Container Recommendation
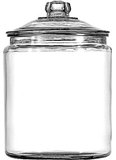
Anchor Hocking 2-Gallon Heritage Hill Jar with Glass Lid
This is 2 gallons AND has a wide rim — the perfect container for a large SCOBY hotel / SCOBY storage.

