Cool Weather SCOBY Care: Brewing Kombucha in Cold Weather
The probiotics and organic acids in kombucha tea are created when the microorganisms in the culture process the ingredients in a mixture of sweet tea and starter liquid. This culture, called a SCOBY (Symbiotic Colony Of Bacteria and Yeast), works best when it’s at room temperature, or between 65F and 80F. When the environment is too hot, the colony gets out of balance and won’t have time to produce all of the nutrients, which is why you need to know how to keep your kombucha culture cool in the summer.
In the winter, you may have the opposite problem. If the culture and liquid and SCOBY are too cold, the action of the yeasts and bacteria will slow down, and may even stop. This is a great trick to use if you want to take a break from brewing kombucha – for example, you can put your brewing container in the refrigerator for a few weeks – but in the normal brewing cycle, it can lead to problems. If the SCOBY is not converting the sugars to acids quickly enough, the pH of the liquid may not be low enough to fight off invasive molds and bacteria, which means your kombucha may not be safe to drink.
There are many factors that affect how long to brew kombucha and these have to be taken into consideration as well. You’re using an organic, living culture, and it will change over time, react differently to different environments, and work at different rates on new types of tea or sugar. It’s a good idea to keep a journal of your kombucha brewing, so that you can keep track of how things like temperature, ingredients, and new techniques affect the time it takes to get your finished kombucha tea, and what the flavor profile is of each batch. If you keep this journal for a year, you’ll be able to see how the time tends to fluctuate with the seasons, and that will make it easier for you to plan what to do as you keep brewing kombucha throughout the following year.
NOTE: The temperature of the kombucha is what’s important here, so “temperature” means the measurement of the liquid, not of the room temperature. In other words, you can’t guarantee that what you see on the thermostat on the wall is the same as what the SCOBY is feeling in the jar. If you use a digital thermometer you can measure the temperature of the kombucha without disturbing the SCOBY or moving the jar. Simply slip the waterproof immersible probe into the jar along the side of the SCOBY, and leave the box with the display next to the jar where it’s easy to read.
Establish Your Ideal Brewing Spot for Maximum Warmth
Because the brewing and fermentation time is longer at lower temperatures, you need to find a place where you can leave the brewing container alone and undisturbed for at least a week, and often up to a month. This place needs to be out of direct sunlight and away from any sources of possible contamination, such as pet beds, birdcages, garbage pails, or potted plants. There needs to be enough air circulation to make sure that the SCOBY gets the oxygen it needs, but not so much that it cools down the brewing container even further.
When you think you’ve found a good place for the SCOBY, pour water into your brewing container and leave it in that spot for 24 hours. Use a thermometer to test the temperature of the water every few hours, and especially first thing in the morning. If each of your temperature readings stays above 65F then you’ve found a good spot for brewing, and you’ll only need minimal additional heating.
If your late-night or early-morning temperature readings fall below 65F then you’ll need to plan on keeping the kombucha warm at night. However, if none of your readings during that 24-hour period are above 65F then you’ll need to either find a better brewing spot, or plan on heating your kombucha brewing container 24/7.
Heating Safely
Whether you need short-term or around-the-clock extra heating for your kombucha, you have several options. No matter which option you choose, be sure to follow these safety guidelines:
Make sure that your heating source won’t overheat. Some heating pads don’t have an automatic temperature control, and this means that you could raise the temperature high enough to harm your SCOBY. You will also run the risk of creating a fire hazard with the heating element itself.
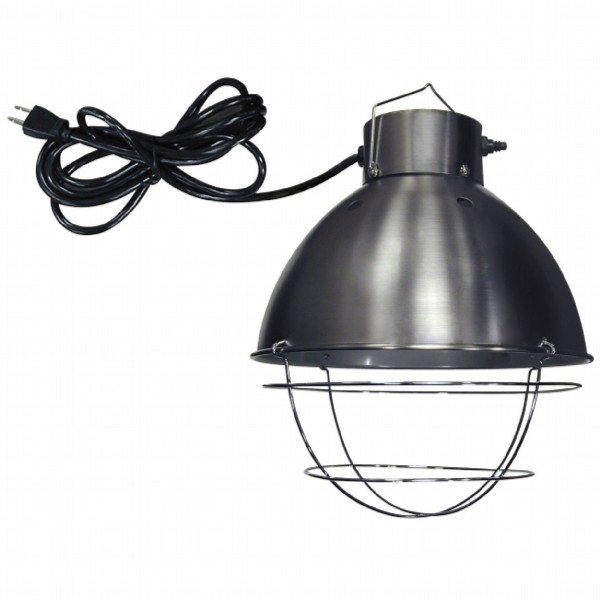
Always use indirect heat near the SCOBY so that you don’t burn the culture. For example, if you are using a heat lamp and it creates a spot of light on top of the SCOBY, that spot will receive more heat than the surrounding area, and it might get too hot for the SCOBY’s health.
Be careful when setting heating sources next to things that might catch fire or melt. If you’re using a cloth to cover the brewing container, there may be loose threads hanging off the edge of the cloth. If those threads get close to a heat lamp or exposed wire, they could start to burn, which could ignite the cloth and then the area around the brewing jar.
Do not use a heating element whose product warning label cautions you against getting water on it. Accidents do happen, and if your brewing container tips over onto the heating element, it could short out and start an electrical fire.
Residual Heating Solutions
You don not need to invest in specialized heating solutions in many cases, if you use your surrounding environment — and existing appliances — as a source of heat for your Kombucha. In many cases, provided it is not too cold, this is all you need.
Residual Heat From Appliances
Some appliances in your house are almost always running, and many of them generate heat. The space on top of and at the back of your refrigerator will usually be warmer than the rest of the kitchen, and a large entertainment center will often build up a lot of heat at the back of the cabinet. Both of these places are good options for your brewing jar, since they’re generally out of the light and in a place where they’ll be protected from disturbance.
If you heat your house or kitchen with an oil stove, you’ll always have a small trickle of flame going through the pipe to keep the stove alight. Many of these stoves already have built-in shelves above the surface of the appliance, but you can also build one. If the top of the stove isn’t too hot, you can set the brewing container directly on the stove, towards the back.
Some ovens have pilot lights that are constantly on, and that will heat up the space inside the oven. Test the temperature to make sure that it’s in the correct range before putting your brewing container inside the oven and closing the door. Leaving the oven light on will help raise the temperature as well. However, since you need to avoid moving the brewing container during this primary fermentation period, you’ll only be able to use this option if you rarely use your oven for cooking.
If your house uses a tank-style water heater (rather than an on-demand heater) then check the temperature around the water heater to see if it’s suitable. A water heater in the basement may not generate enough heat to compensate for the already-cooler basement air, but a water heater that’s built into a small closet upstairs will probably trap enough heat.
Using Hot Water to Heat the Container
While you can’t heat up the liquid in the brewing jar, you can use hot water to heat the space around the jar. Use your spare brewing containers, canning jars, or bottles, and fill them with hot water. Use glass jars and containers, because they radiate heat efficiently. Put the brewing container in an empty picnic cooler, and place the jars and bottles of hot water around the container inside the cooler. Leave a little space between the brewing container and the containers of hot water. Lower the lid, but don’t close the picnic cooler all the way; you need to have air circulation, and you don’t want too much humidity to build up inside the cooler. You can also use a cardboard box instead of a picnic cooler, as long as the humidity stays low to keep down the risk of mold. Refresh the hot water as needed.
You can keep in more of the heat if you seal the jars containing the hot water, and then cover them with a blanket or towel. Be sure that you’re not covering the cloth-topped opening of the brewing container with the blanket.
Heating Pads and Heating Strips
Depending on how much money you want to spend, you can buy any number of different heating elements that you can use to regulate the temperature of the brewing container. These are specialized pieces of equipment made for brewing containers (in some cases, just for Kombucha brewing). These are the ideal solution if you want to maintain the ideal brewing temperature for your Kombucha in cold weather areas, but this comes at the cost of the cost of these items.
Store-Bought Pads
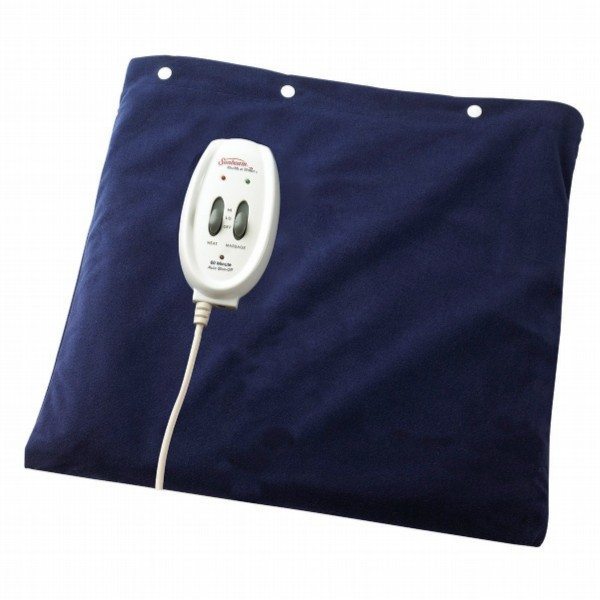
You can find inexpensive heating pads in nearly every pharmacy, and in the pharmacy section of most supermarkets. These are electrical pads that are designed to put heat on sore areas like the back or shoulders, or for helping with muscle cramps or an upset stomach. Look for pads that come with thermostats that automatically shut off the heating element if it gets too high.
http://www.amazon.com/Sunbeam-732-500-King-Heating-UltraHeatTechnology/dp/B000FGDDI0
Gardening Heated Pads
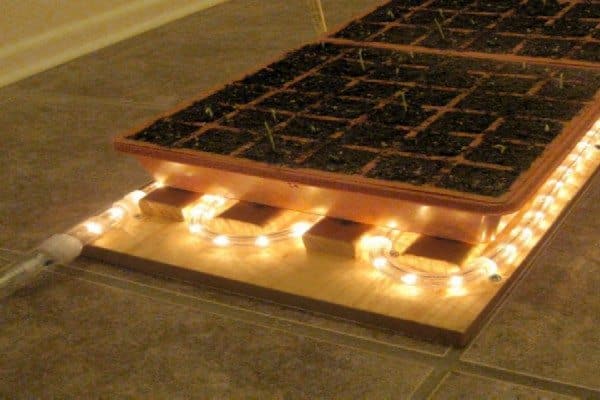
Many people who have vegetable gardens “start” their seeds indoors, and most gardening supply stores will sell heated pads that are made for setting underneath the small pots containing seedlings. These radiate constant heat upwards, and have the advantage that they’re safe to use around water.
http://www.burpee.com/seed-starting/heat-mats/seedlings-heat-mat-prod001232.html
Specialized Brewing Heaters
With more and more people interested in making home-brewed kombucha, it was only a matter of time before avid brewers were clamoring for something specifically suitable for heating brewing containers. You can now find heating strips and pads that have been developed to easily wrap around brewing jars to provide a constant temperature. You may be paying more money for these products, but you’ll be getting exactly what you need, and supporting the wider kombucha community!
http://store.kombuchakamp.com/The-Kombucha-Mamma-Essential-Heating-Strip.html
Homemade Heating Solutions
Like many other aspects of kombucha brewing, you don’t need a lot of fancy equipment to keep your kombucha quality high by keeping it at a constant temperature during brewing. You can adapt some of the things you’ve got in your closet right now, or look for inexpensive pieces of equipment at discount stores and at garage or yard sales. If DIY solutions are what you want or you are trying to brew kombucha as cheaply as possible, then look at one of these solutions to cold weather kombucha brewing.
Here are some ideas to get you started:
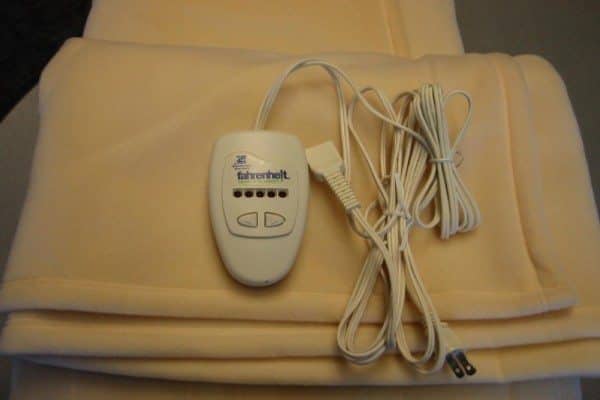
Electric blanket. This combines both heat and insulation, and is easy to adapt to any size container. Try to find a blanket that has an automatic shut-off switch when the temperature gets too high, to minimize the risk of fire. Check the label to make sure you can use the blanket around liquids.
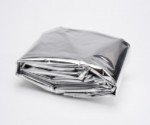
Space blanket. A silvery insulated space blanket will help you hold the heat inside whatever space you’re using for your brewing container. You can use it to line the sides and bottom of a cupboard, for example, to help trap the heat.
Table lamp. An incandescent bulb puts off almost as much heat as light, which is one reason why this type of bulb is being replaced by the more energy-efficient compact fluorescent bulbs and lamps that use light-emitting diodes (LEDs). However, this inefficiency makes it a very efficient heater! If you can place your brewing container near enough to get the heat, but out of the direct light, you should be able to get an extra 5 to 10 degrees of added warmth.
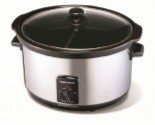
Slow cooker. If you put a towel or trivet in the bottom of a slow cooker, fill it halfway with water, and turn it on to a low setting, you can easily heat your brewing container. Since slow cookers aren’t any use for cooking without a lid, many people drop off their old slow cookers at places like Goodwill, and you should be able to find one for a few dollars.
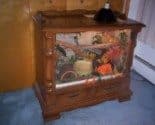
Old reptile tank. Like kombucha, lizards and snakes need help staying warm when it’s cold. Pet stores will have supplies designed to add a gentle warmth to a reptile tank, and they’re not very expensive. If you pick up an old aquarium or glass tank at a yard sale, you’ll be able to find the heating elements at the pet store, and that will save you money.

